
Drab to Fab... The Roadside Wreath Facelift
How are you?
Has spring sprung where you are? This is such a crazy year right?
I'm still spring crafting, because it just hasn't hit here yet!
I recently finished this spring wreath for our front porch.
With plenty of spring left it will be hanging there for a while.
The wreath is huge! Seriously!
I have some work to do on our front porch... the dead winter... that just keeps dying... has killed all motivation to make that pretty.
But, after I made this wreath I felt hopeful, so I'm working on it currently.
Here is what it looked like last summer. That was my first real attempt to make it more room-like.

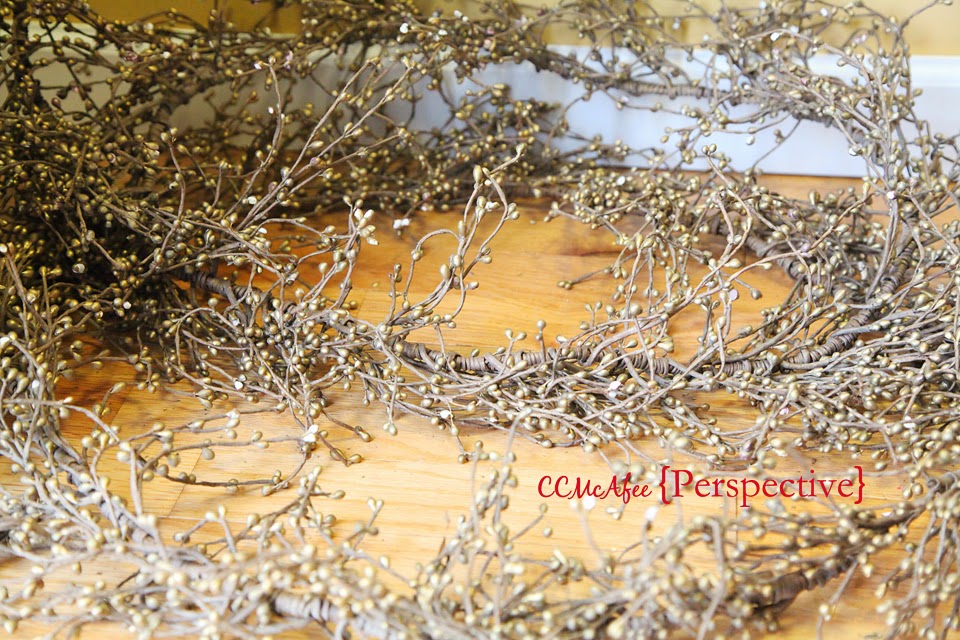
I totally found this guy on the side of the road! It looked like this...

Oh yes, today I will be showing you this much needed facelift for this poor wreath!
First I stripped it down.
It was so dirty, totally had to pull out my vacuum and give it a once over.

The ivy and flowers went to the garbage.
This gold stuff is fabulous and I'll totally keep it for my January decor... front room and family room.
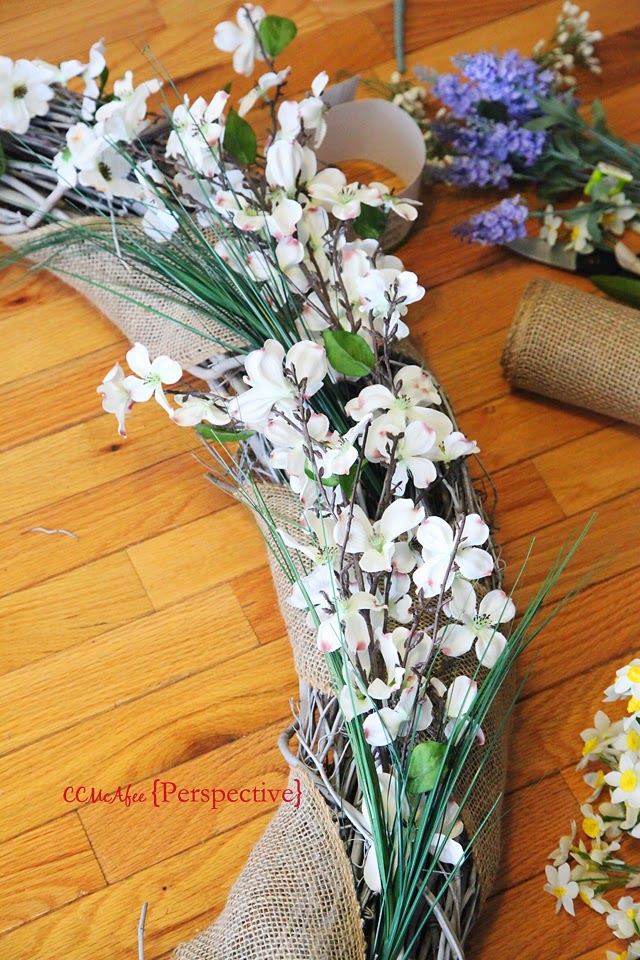
I had bought some white dogwood stems for this project. I thought I'd just do a simple white wreath.
I also saw some burlap as I was shopping, wasn't sure if I'd use it.
When I was cleaning out my storage room I found these grass stems, purple stems and little daffodils that were just loose.
I think I've put them alone in little vases here and there.
I grabbed those too.
I lay all of my goodies out on the wreath to give me an idea of what I wanted to create.
I do like the idea of just white flowers on the grapevine. I think it would be pretty, but this is a great way for me to use up what is not being used! I decided to use all of them.
Still was unsure about the burlap.
It's good to do a dry run before you commit to anything, to make sure you have enough supply, get the kinks out before you put much effort in.

As I looked at this I decided I wanted my wreath brighter, so I took it outside and lightly spray painted it white. It looks good both ways, just personal preference.

I also remembered a vine of the same flower wrapped around my little banister.
I used that to fill in the bald spot you see at the top of my 'dry fit'.

Little tip: you don't have to run wire around the whole wreath when attaching things to it.
Just feed it through some vine and attach your stem to it. You'll save a bunch of wire!

At this point I decided to try the burlap and see how it looks. Smart right? I'd already attached that vine.
I had to weave it in and out! I don't recommend that!
It's much easier to put ribbon on first!
It adds texture, I kept it on.

I added my white flowers first, since they are the bulk or main flower.
You can just stick the stems into your wreath, then wrap wire up along where the flowers are.

Next I added the grass

Then I added in the purple and yellow...

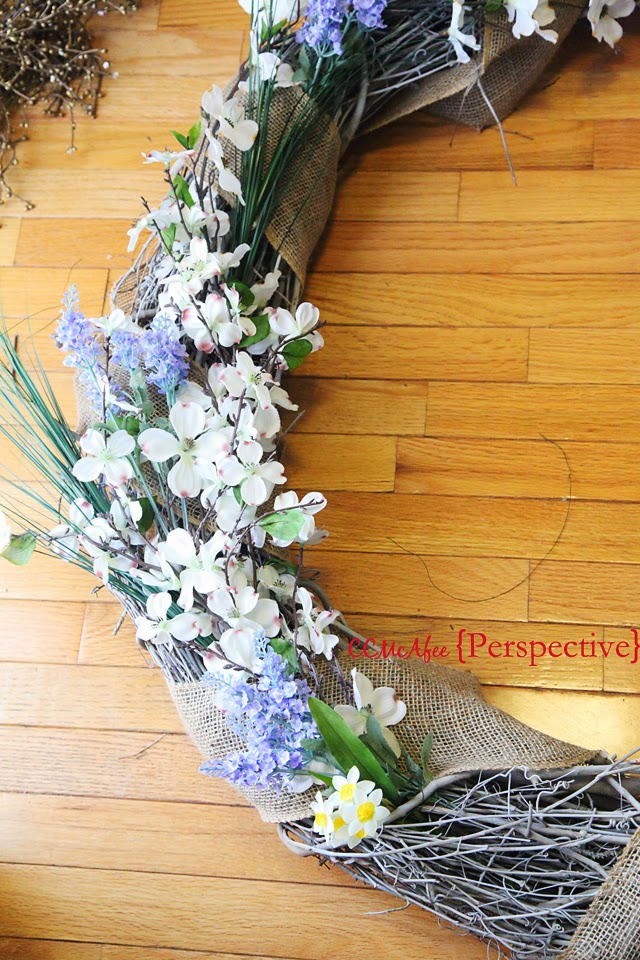
There she is. You can see there is a pretty big hole there down at the bottom, big enough that my bow wouldn't cover it. Fortunately I had more dogwood somewhere else in my house. The stem is a little different, but you can't really tell. Apparently I like this flower!

I made a bow out of the burlap.

I attached it with floral wire.

There it is! I took it outside and hung it up right away!
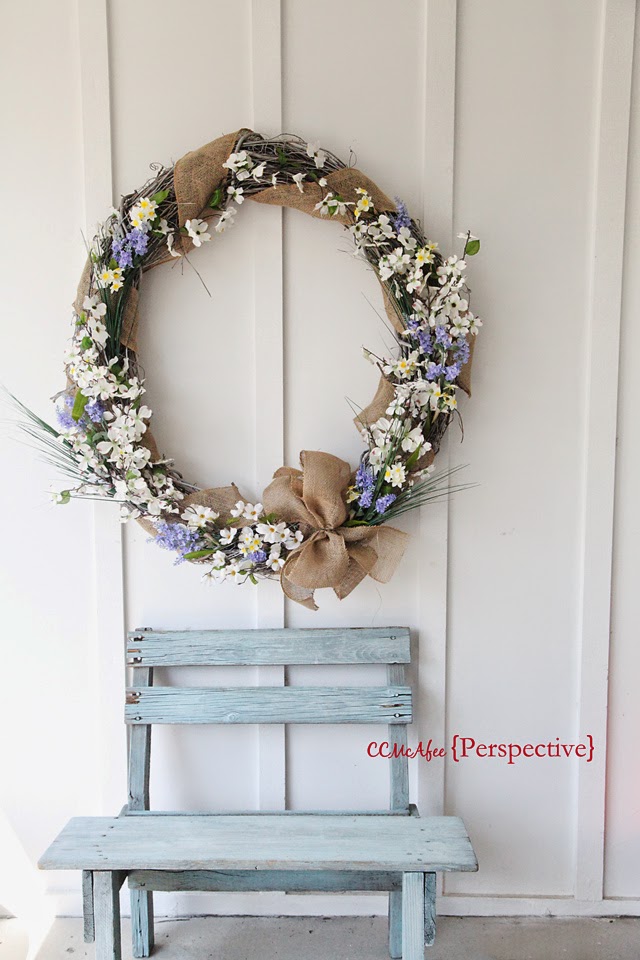


Here is the before and after again...

I love other people's garbage!!! :)
Here are some other roadside finds that will be getting some love soon.
This is what I do when spring has sprung, I give new life to others' garbage!


