
Roadside Workbench - Finally Started!
A question I'm often asked is... how do you find the time to do it all?
As I think about that question, first of all I am flattered and get all weird, like the stammering child who responds 'who me'? It also makes me think about how I write and post on my blog, I wonder if I'm not voicing the reality, taking the time to write about the things I do... and how long it sometimes takes me to do them. I just post the finished product and people assume that I whipped that project out one afternoon!
Truth is I love to do a lot of things. We know this. It is apparent with my many tabs on the sidebar! I am always moving throughout the day and I hop from project to project in between my roles as wife and mom. I always have several projects in the works. So many that at times I have to step back and re-prioritize what is important and what can wait.
Life is for learning, growing and experiencing, but also about enjoying! If that isn't happening... take a step back!
With that in mind I bring you my work desk...
I found this piece on the side of the road as some guys were bringing junk out of their basement. I'll mention that it was raining.
Someone, in fact I'm sure many people drove right past with no thoughts about what was sitting there. Who'd stop in the rain too?
That would be me! I stopped my car, and opened my trunk!
This thing is HEAVY! I started lugging it over to my trunk and the two guys offered to help me get it in my van! I am such a nerd!
Of course I had to move seats, car seats, buckles... and it took all three of us to get that in... and my trunk didn't close on the way home... but I live close!
But I couldn't resist... here it is...

I picked this up this past spring... yes I said spring!
It has been sitting in our garage all summer and I'm just getting around to finishing it!
Before I left for UT I had sanded it down pretty good, so now I'm working on staining it, then sealing it. See? Months!
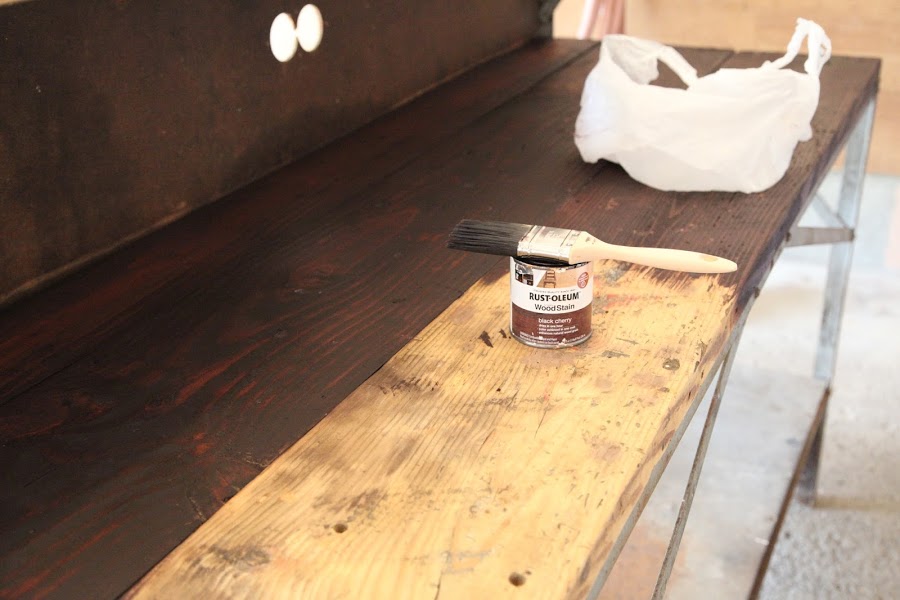
Here is my project - in process - not even finished...
How is that for 'real'? Does it make you feel better that this wasn't done overnight?!

As with many things I bring home, my husband does not like this! He hates that it's been sitting in our garage, thinks it's ugly! He's right, it is ugly right now, but just give me a minute... can you see the potential?
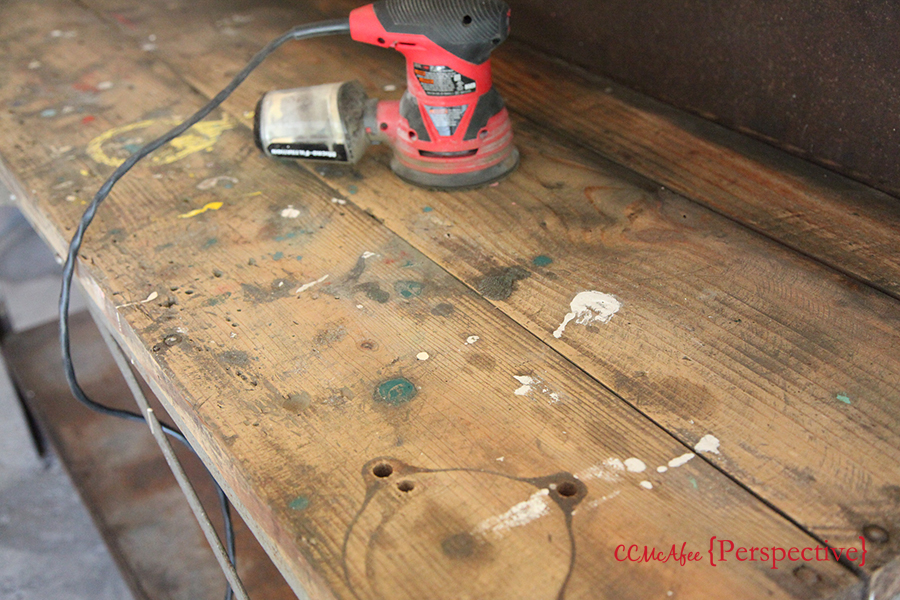
I started with just my regular palm sander... it didn't work hard or quick enough.

Can you see the years of paint drips and holes?

The bottom is a little rusty, but I actually like that. I have sanded it to get all of the loose stuff off, not to clean off the rust, just to smooth it out and clean it off. That is something I like.
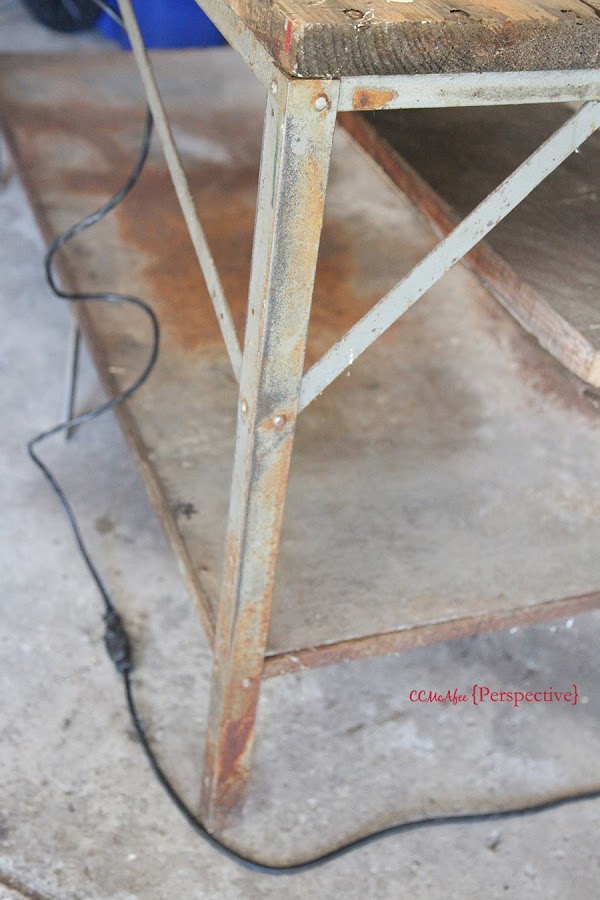
Rusty legs, also sanded. Actually one of the back legs has broken off at the bottom, but that doesn't bug me, it's nothing some wood blocks can't fix.

Here is the rear view. Still debating if I want to pull this off or just cover it with cute wallpaper. Thoughts?

I busted out the belt sander and the layers came off much easier.
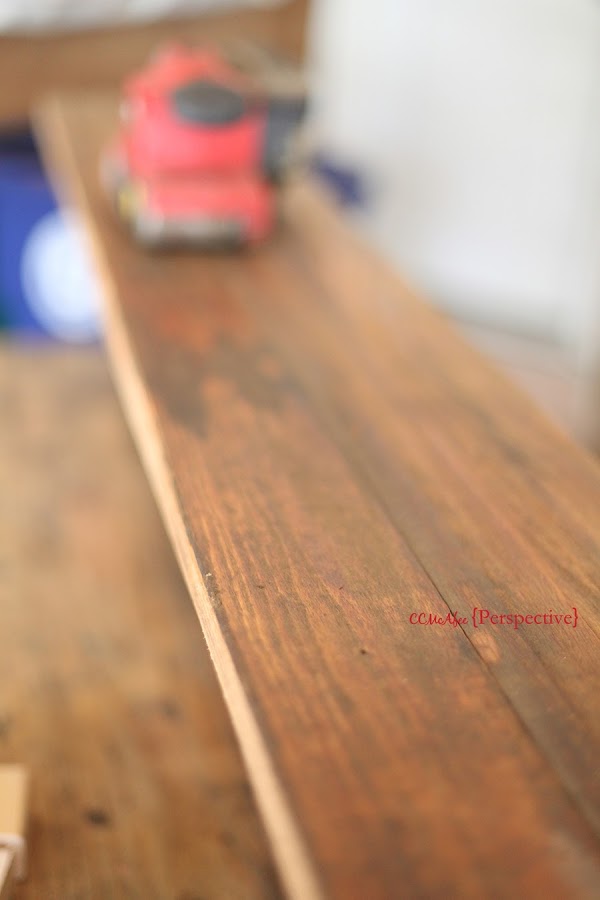
Look how pretty that wood is!
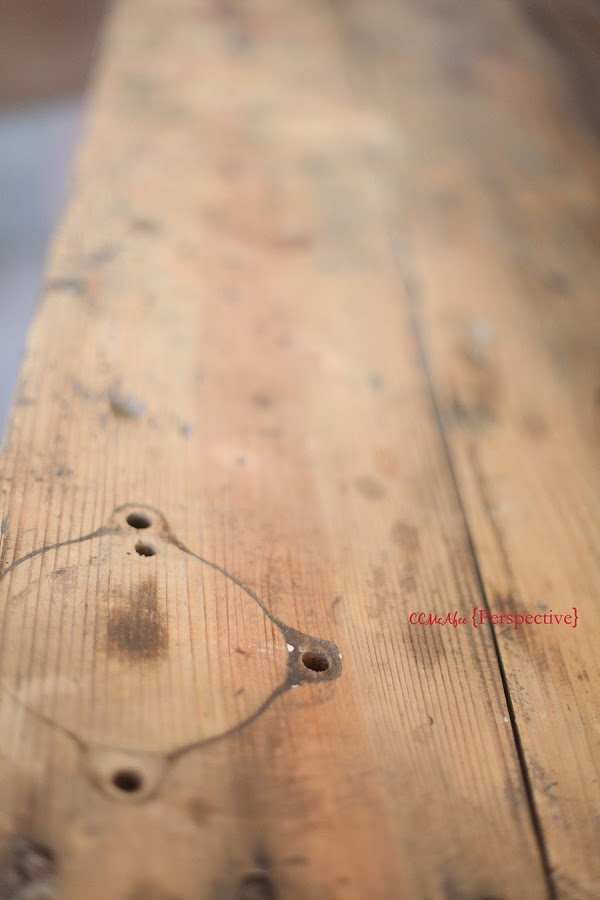
I covered most of the holes with a wood putty, but I'll keep these ones on the edge. I like the personality.
So here is what I've done recently.
I went back to my palm sander with a fine grit paper on it, to really smooth off the wood.
You can vacuum or wipe the wood to get all of the fine dust off.
Now, staining. I chose a black cherry color. This stain is Rust-oleum wood stain.
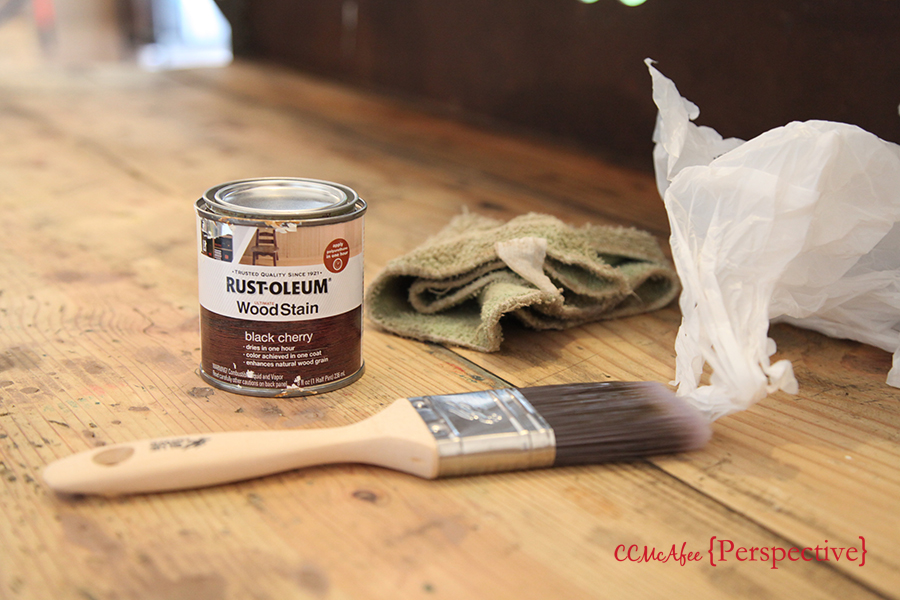
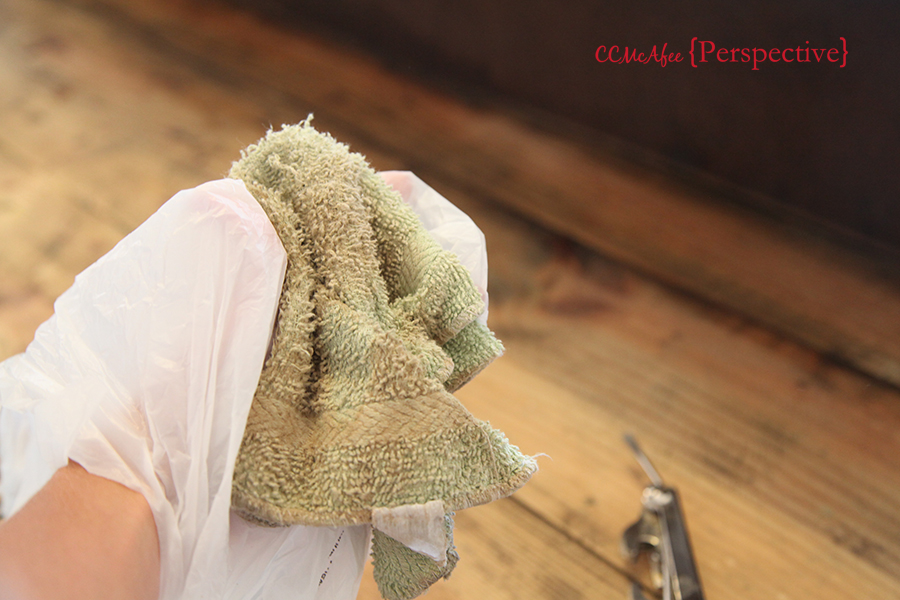
I don't have rubber gloves on hand, so I just grabbed some trash bags to use as my 'gloves'!
I also used an old rag, this will just go in the garbage when I'm done.

Paint on, let it sit for a couple of minutes, then wipe off with your rag...
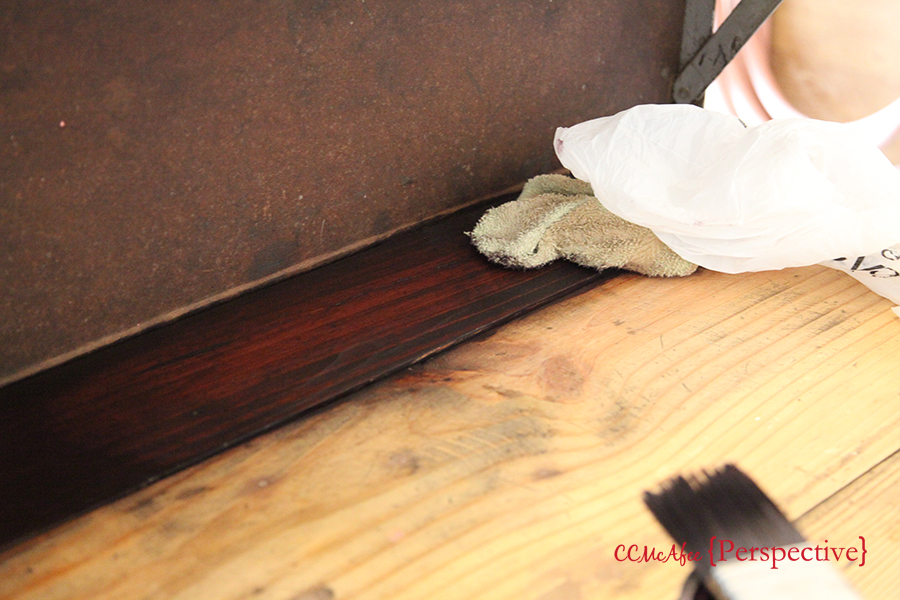
I really am excited about how the wood is looking. I just need some time to get out there and finish!
Hopefully soon I'll be showing you the big reveal, how it all turned out.
Want to see progress??? Click here for the next post on this upcycled workbench.