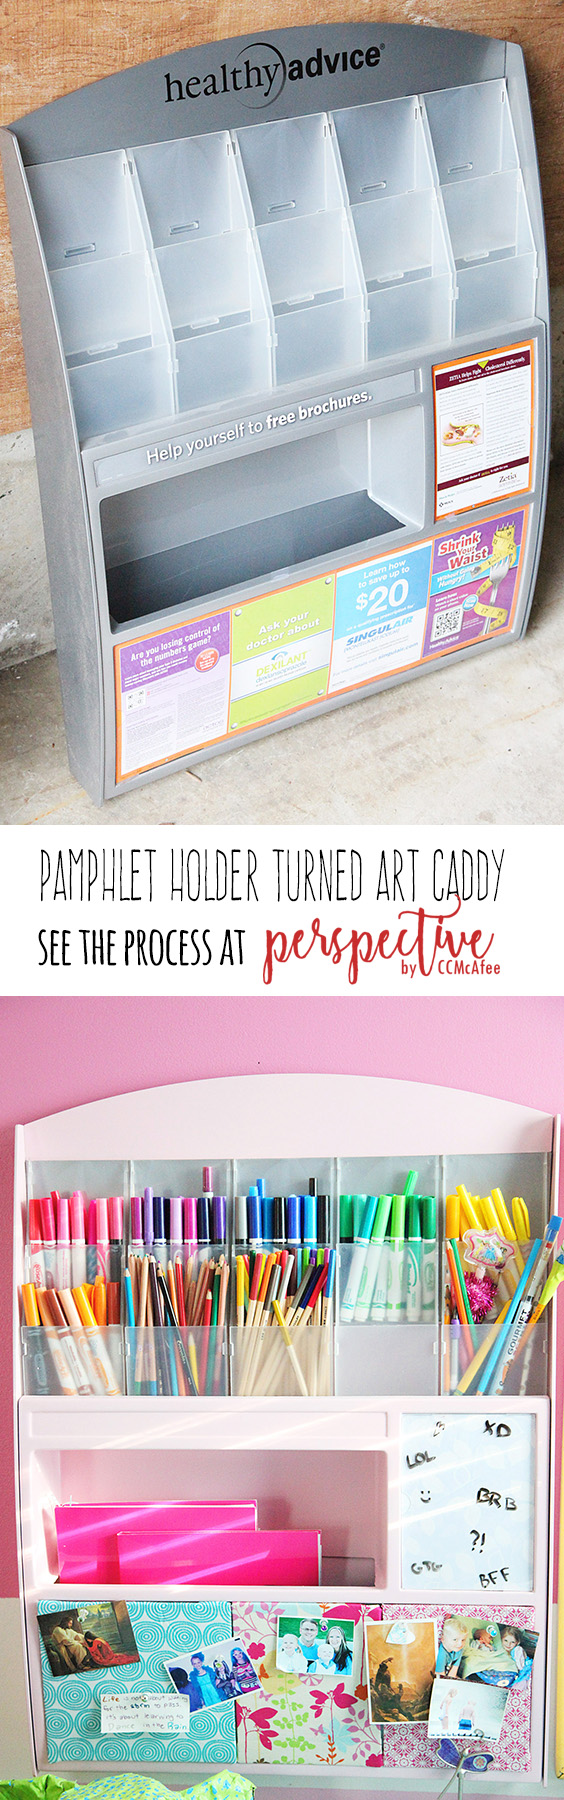
Medical Pamphlets To Art Caddy... The Transformation
I am sooooo excited to share today's project with you!
It is one of my favorite facelifts! I did this project back in 2014! I'm reviewing it today, and next week I will show you how the second caddy turned out.
Read on, my friends, to see how this medical office pamphlet holder turned into an art caddy, for my daughter!!
It's pretty dang cool!
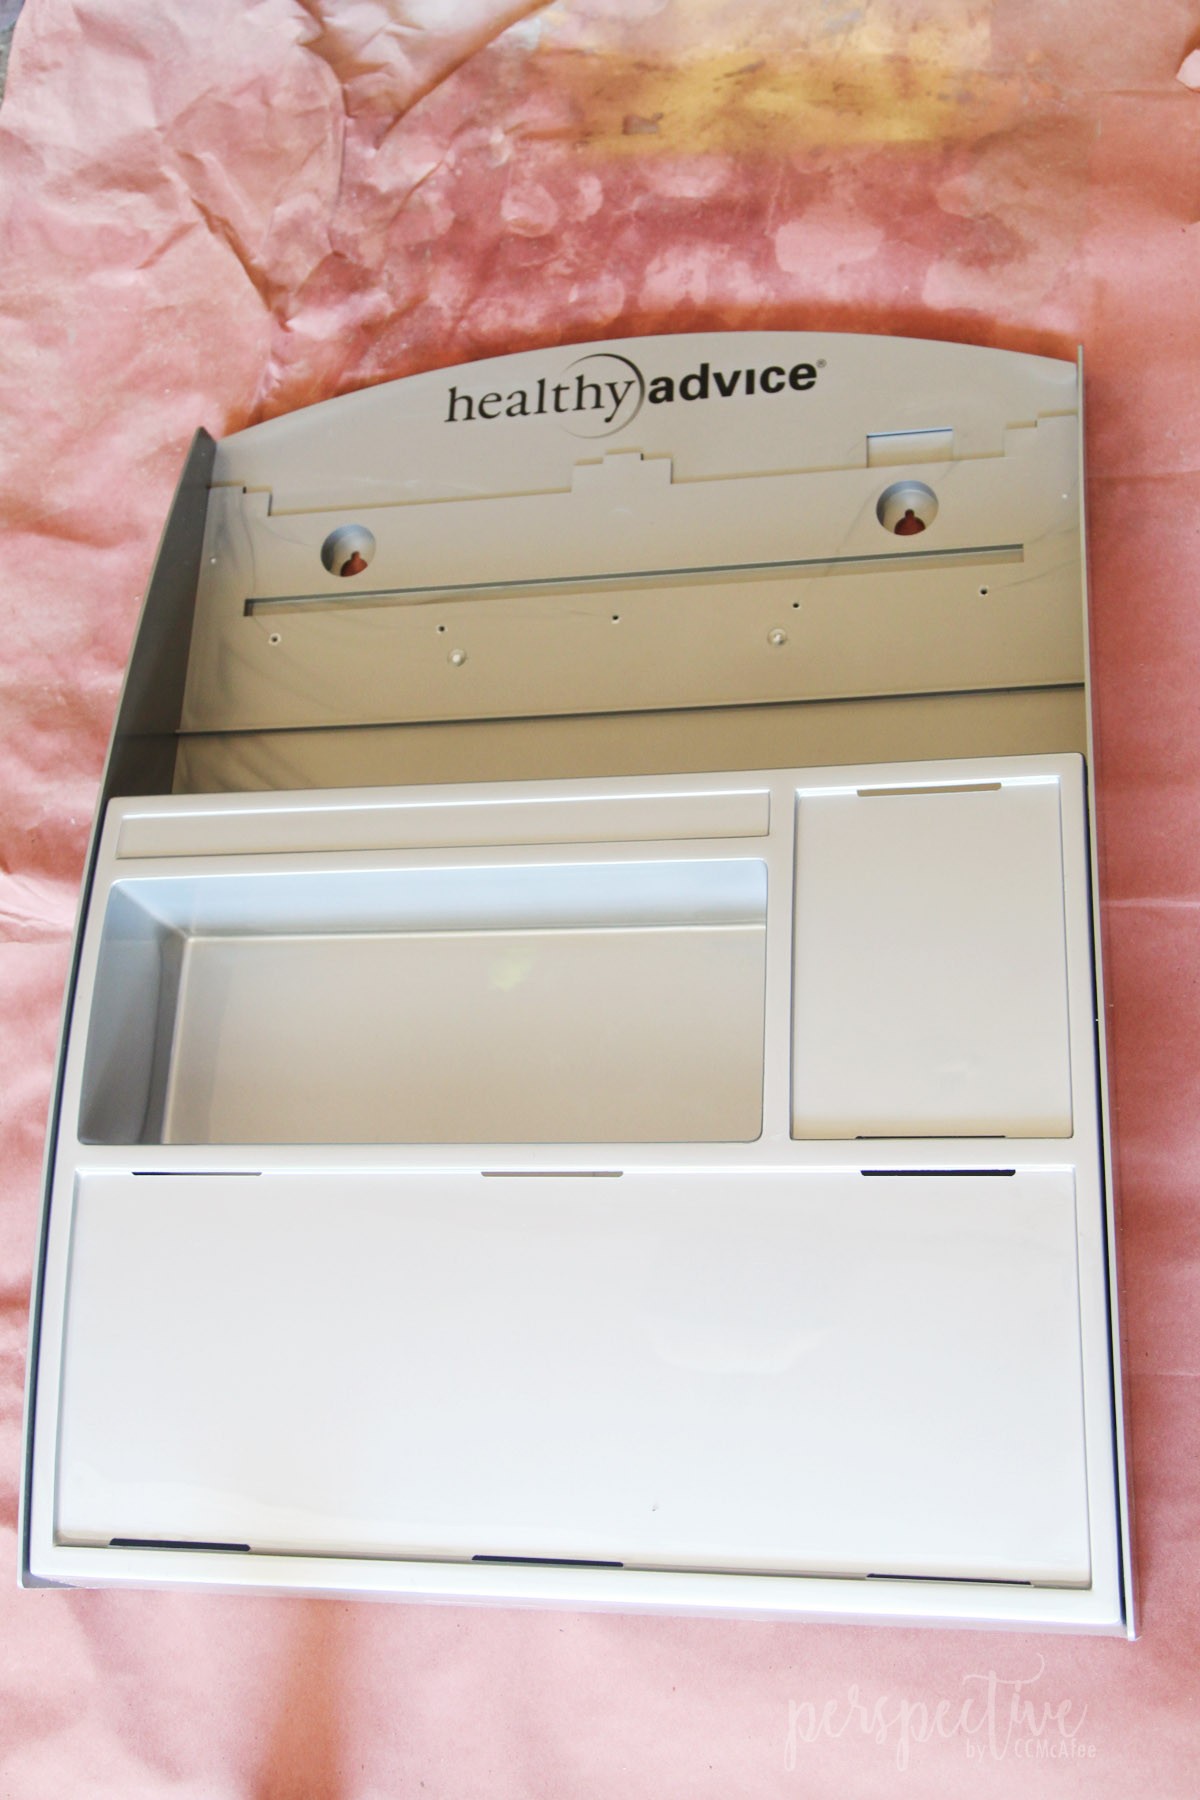
I could not pass up this medical pamphlet holder thingy! I found 2 of them on the side of the road! I never really know what something will be when I see it on the side of the road, but I know a treasure when I see one, and this is a treasure!
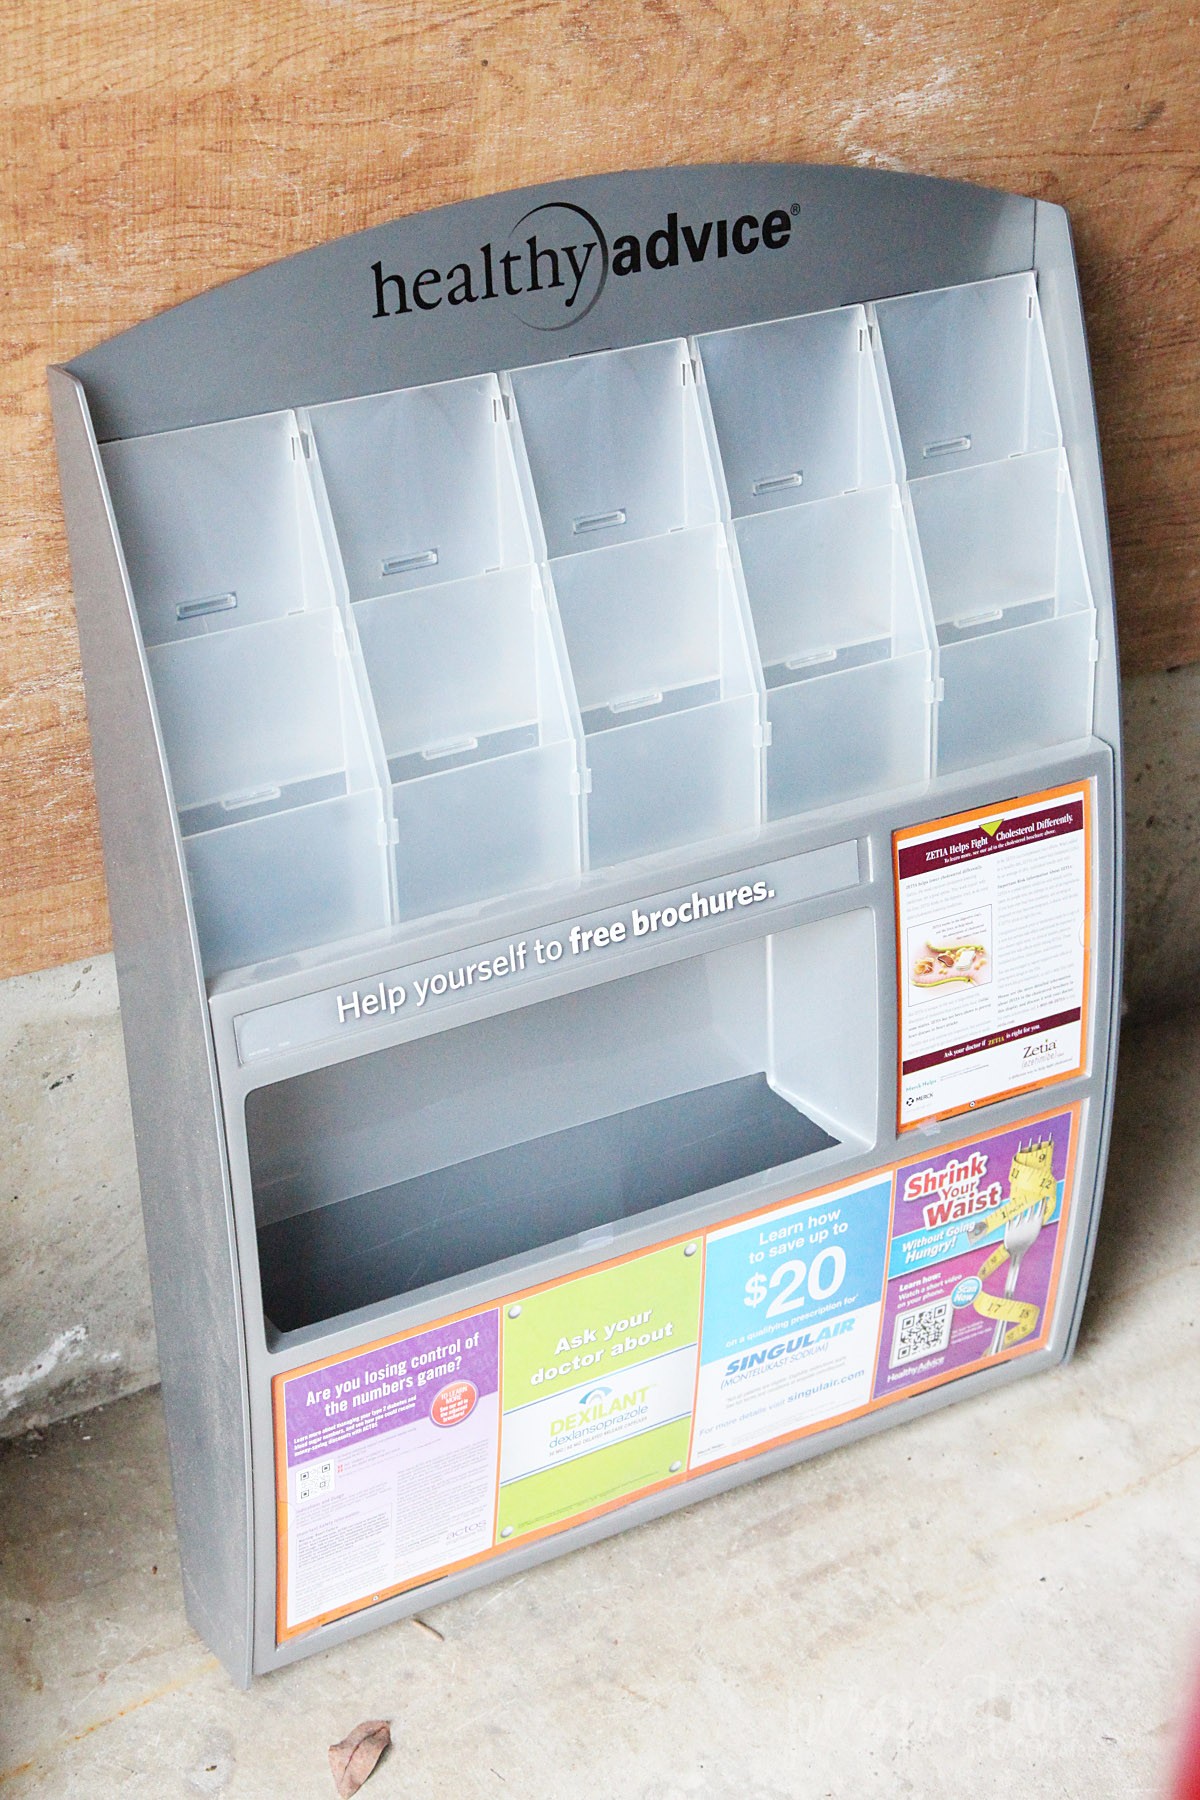
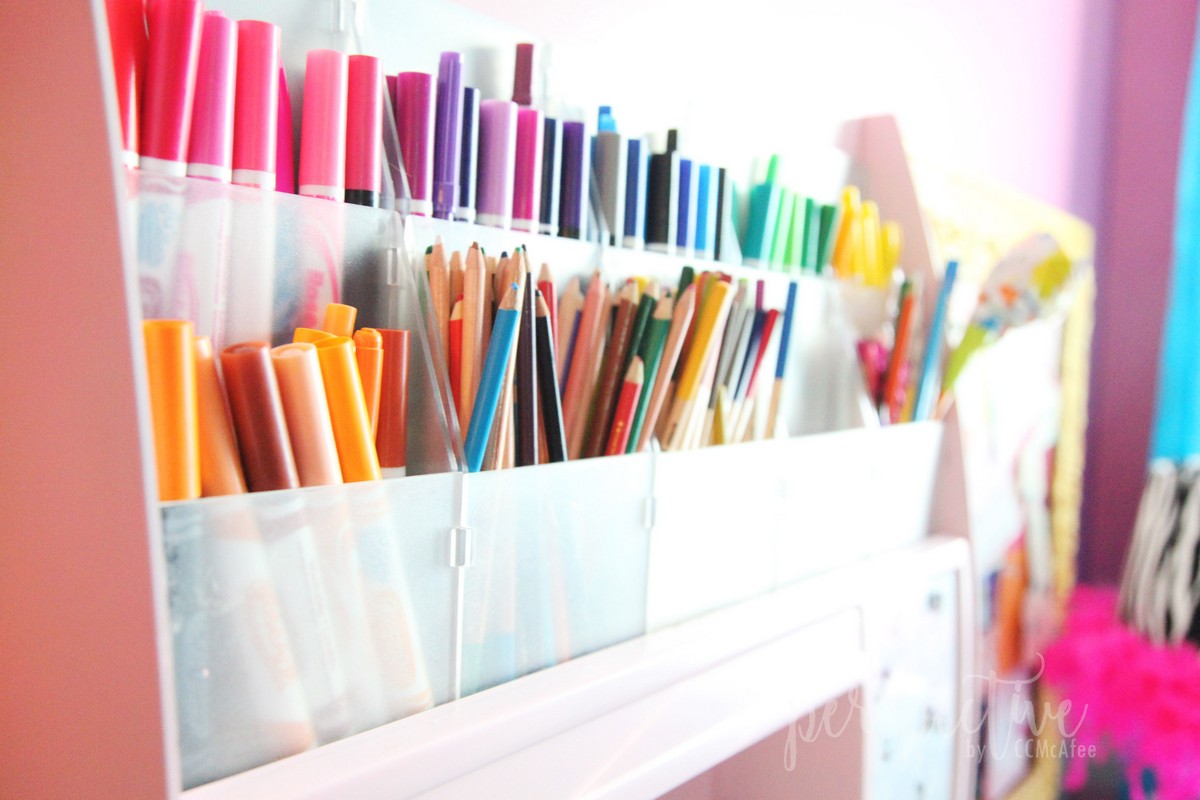
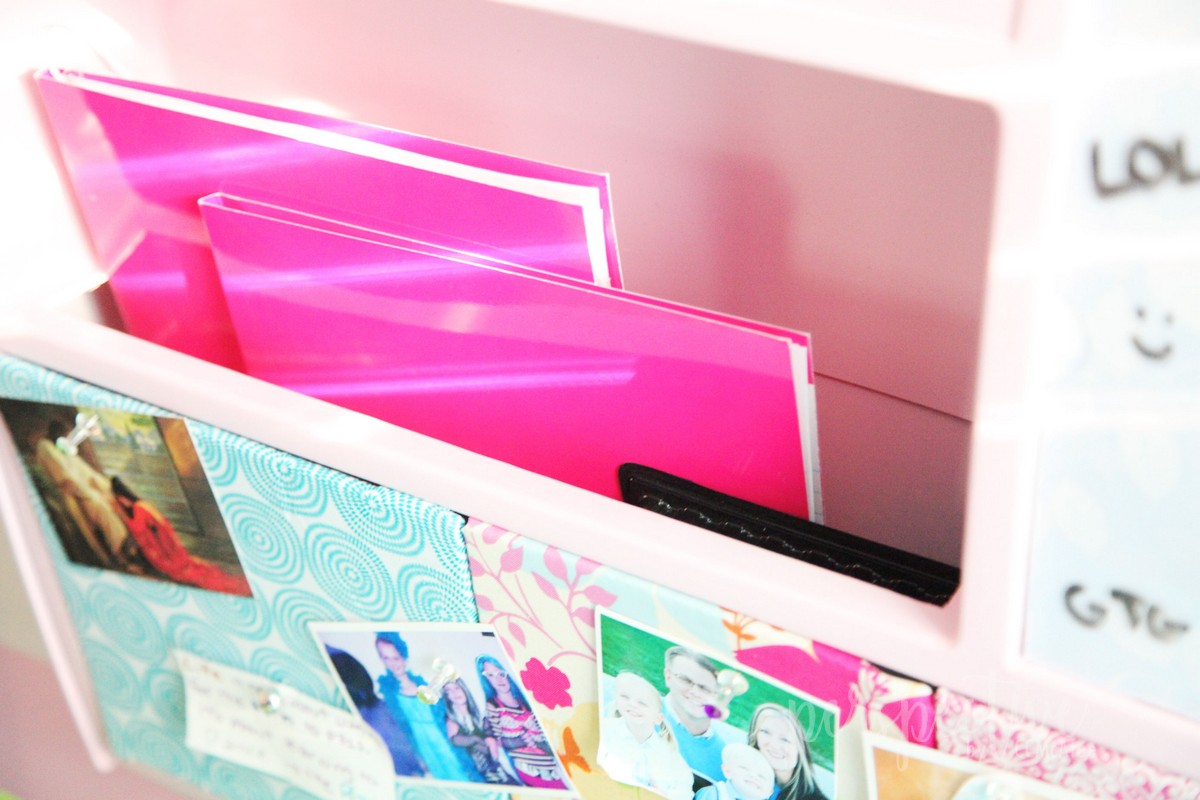
I held off for a few weeks with this one. As I started to formulate ideas of what this could be used for, I expressed that it would be a great place to store markers and pencils, notepads etc. Maybe for a little girl? I also maybe wanted to keep one for my own family, maybe an art center, maybe a family message center?
This is made of plastic, just FYI...
I started with some spray paint. I decided to do a pink one and a blue one. I'll show you the pink one today. I haven't finished the blue one yet.
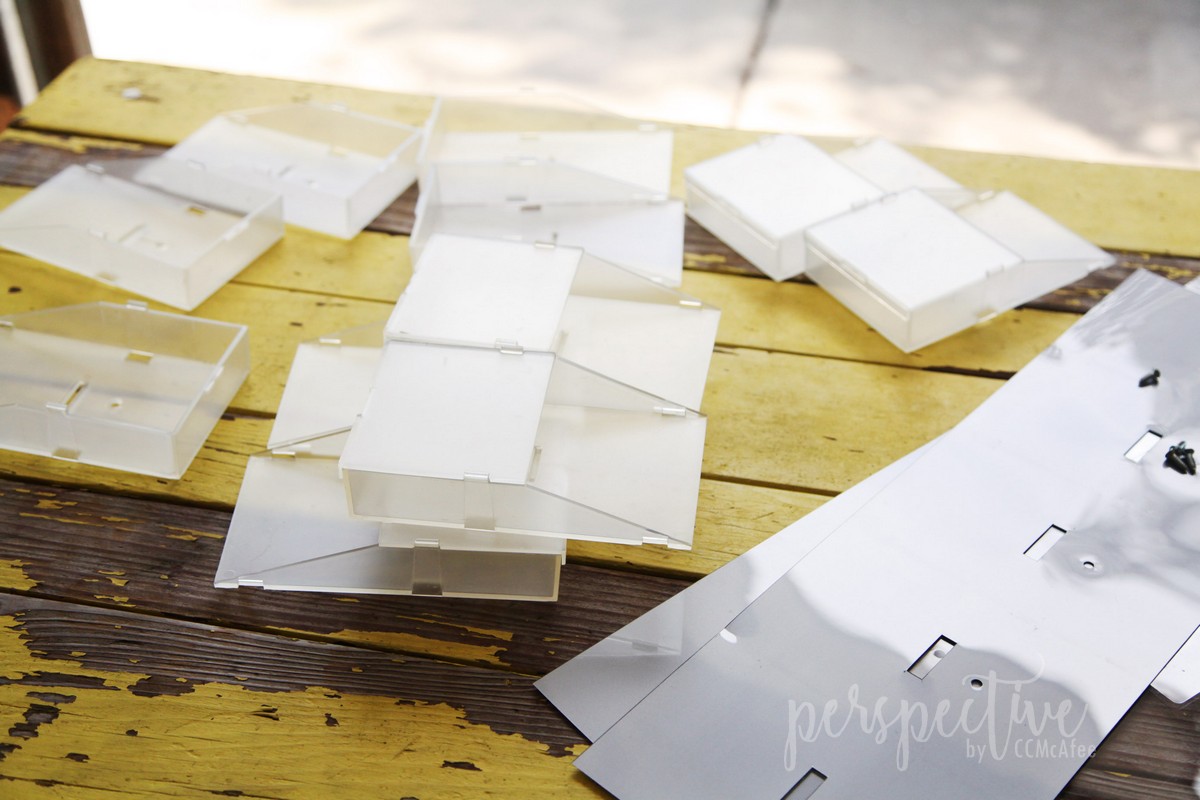
I took it completely apart, saved the little plastic covers, sanded down the 'healthy advice', just a little bit.
I used a primer, for plastic. Since I used a soft pink I wanted the white base to help the color stay true.
I spray painted the whole thing, knowing I'd be covering the bottom portion with cork and the small part with paper.
As I got this painted my Q told me she wanted one. This would actually be perfect for her. She is my little artist and has so many things to draw and paint with, her desk drawers are bursting open!
As we went forward I let her choose everything else, to match her room (and she is already imagining what her new room will look like).
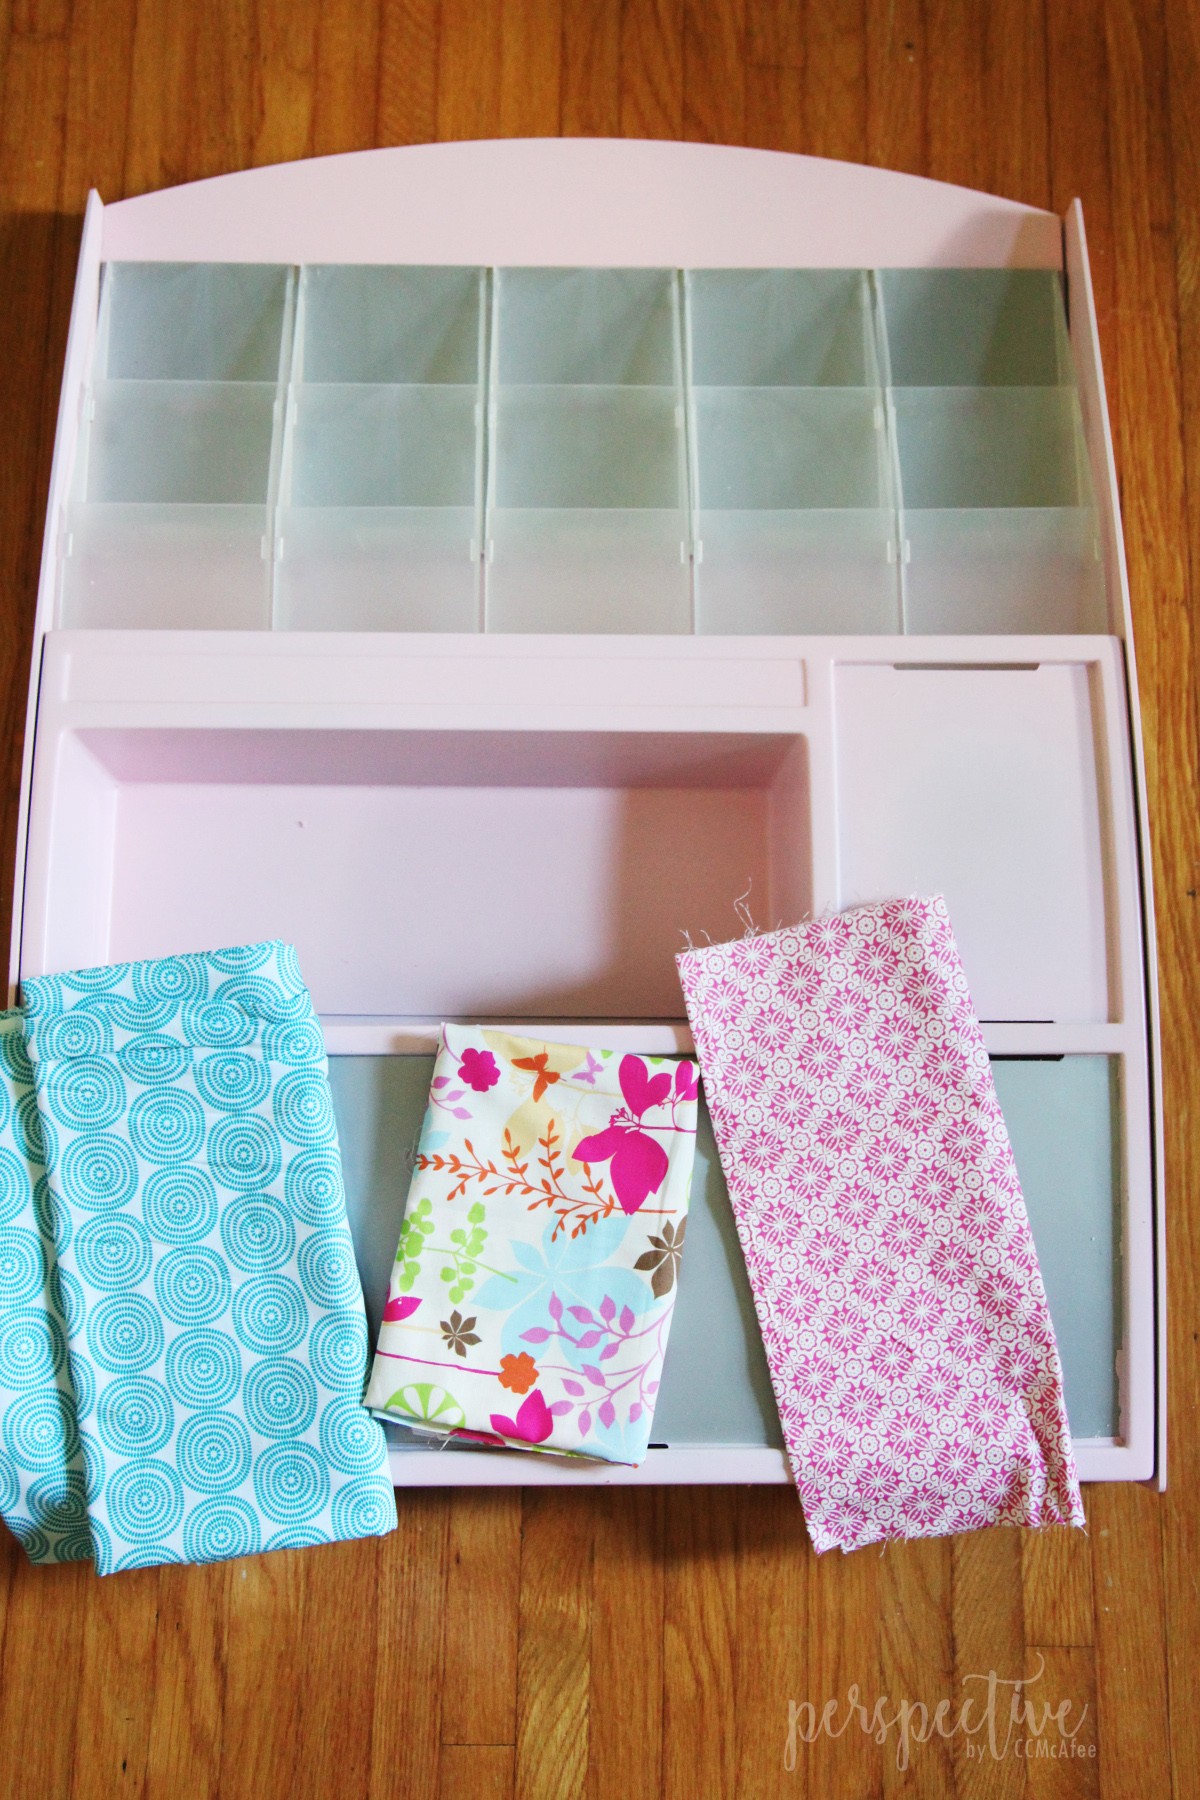
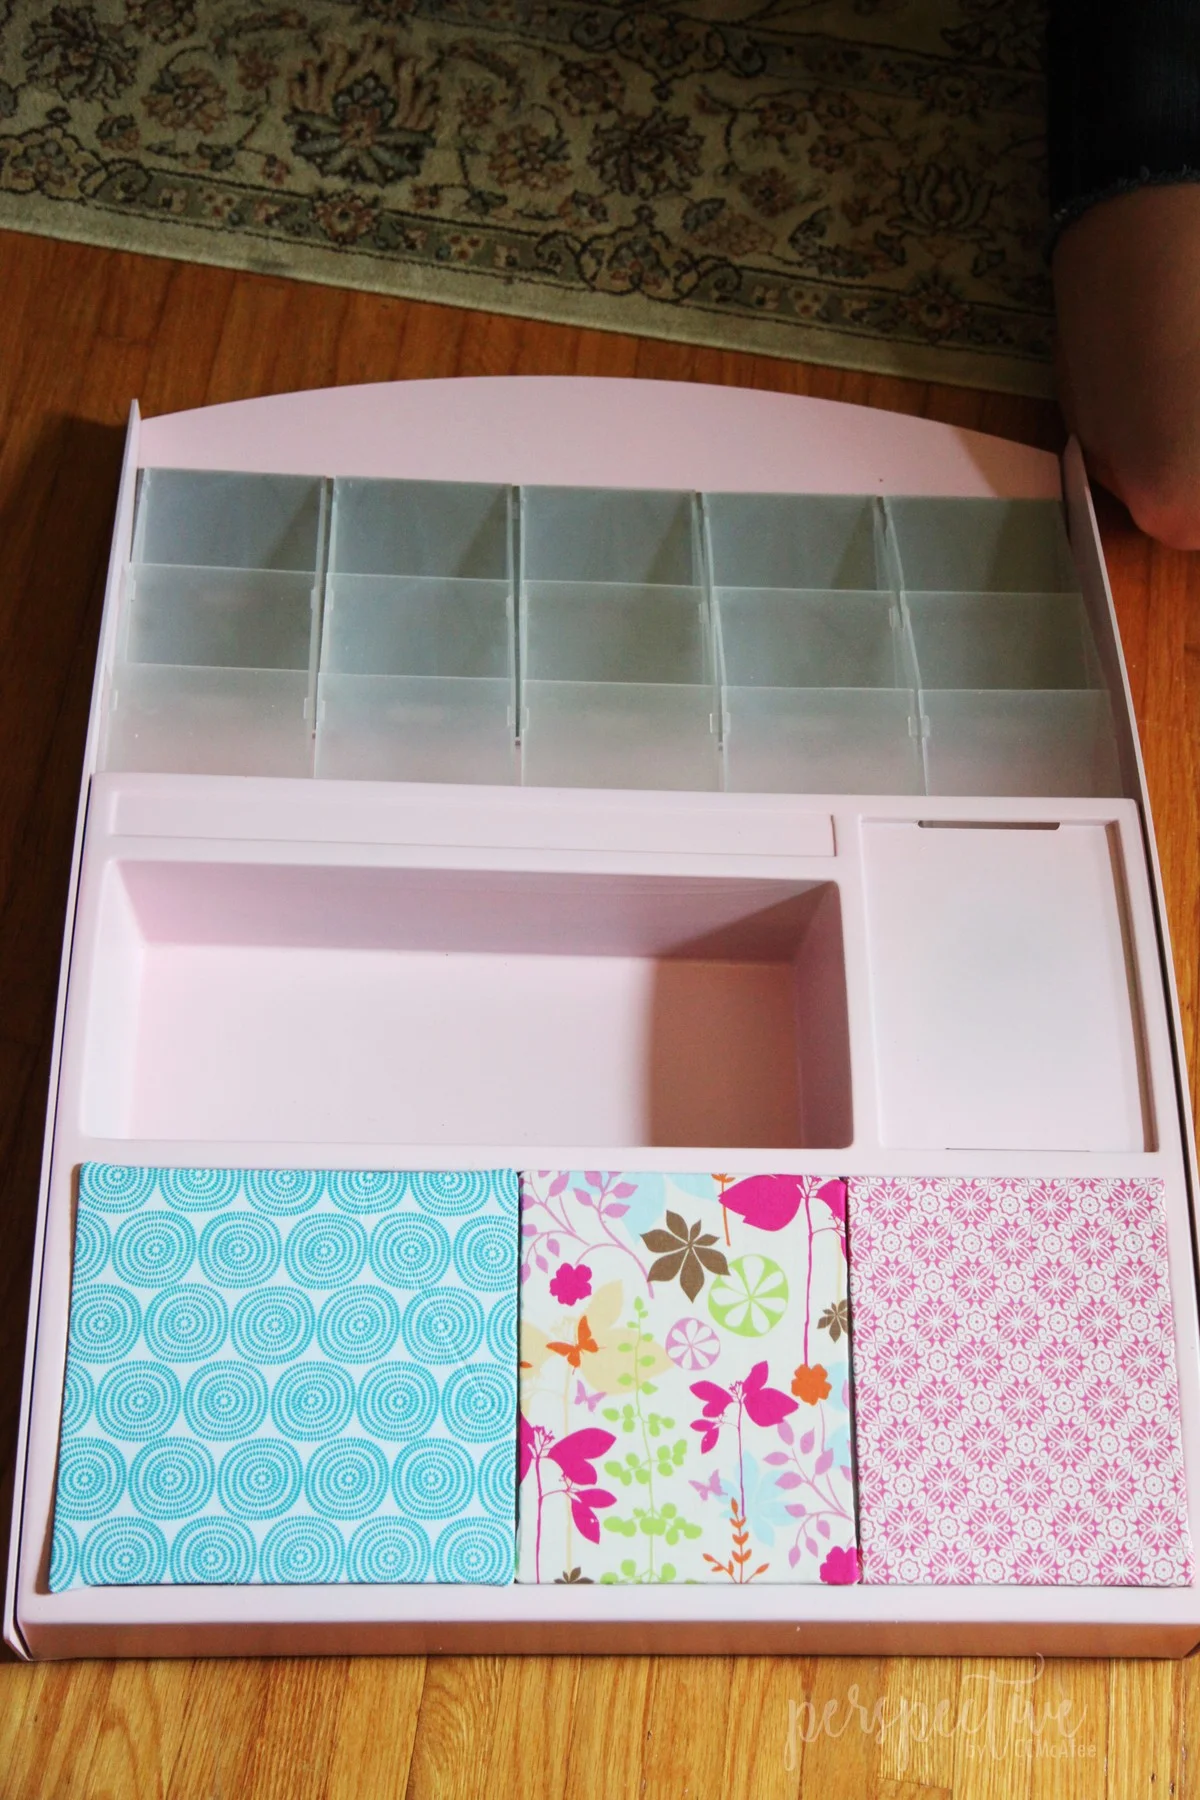
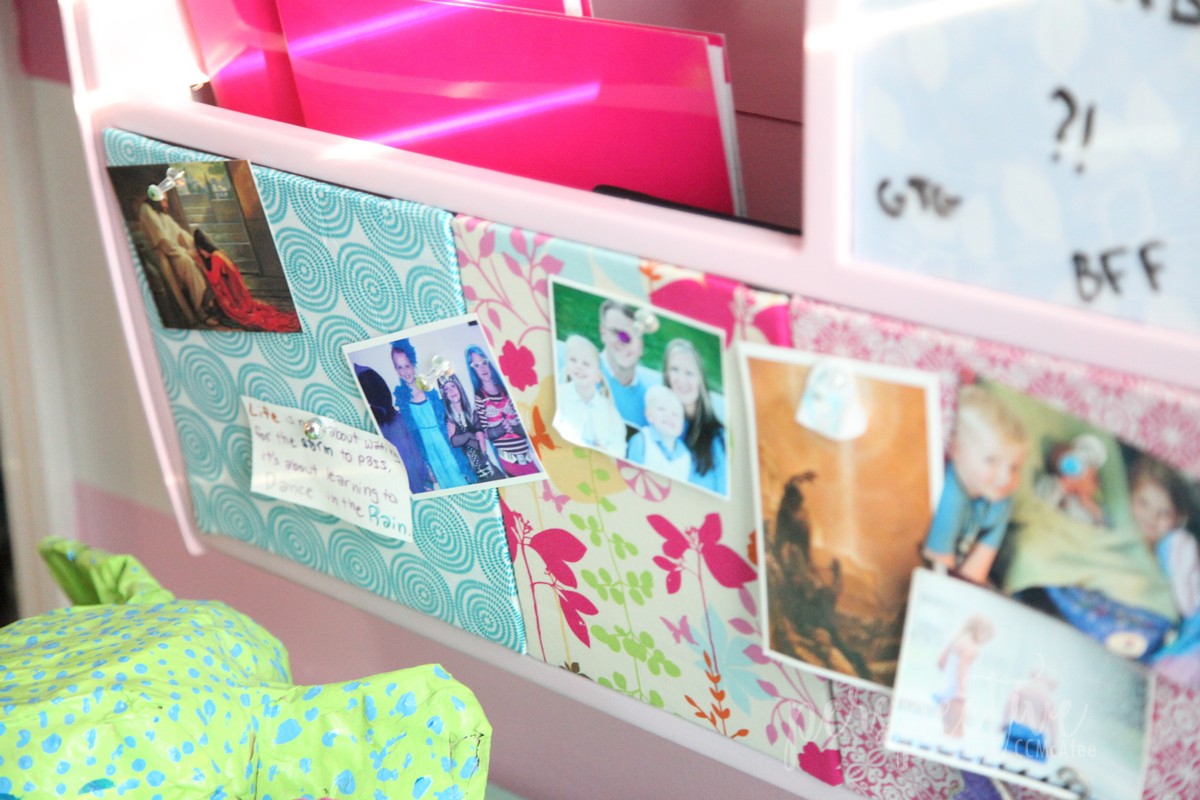
These are the fabrics she chose to cover the cork.
She got to choose how big each block was and helped me cover the cork with fabric.
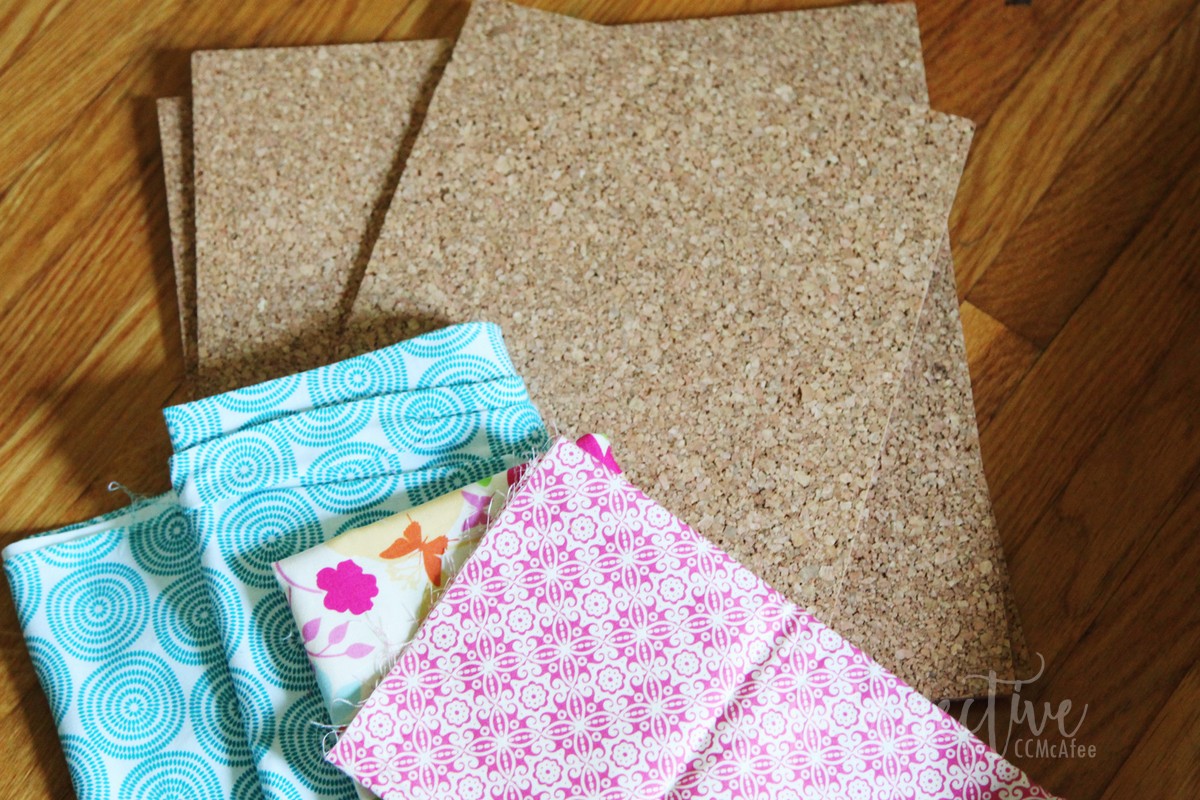
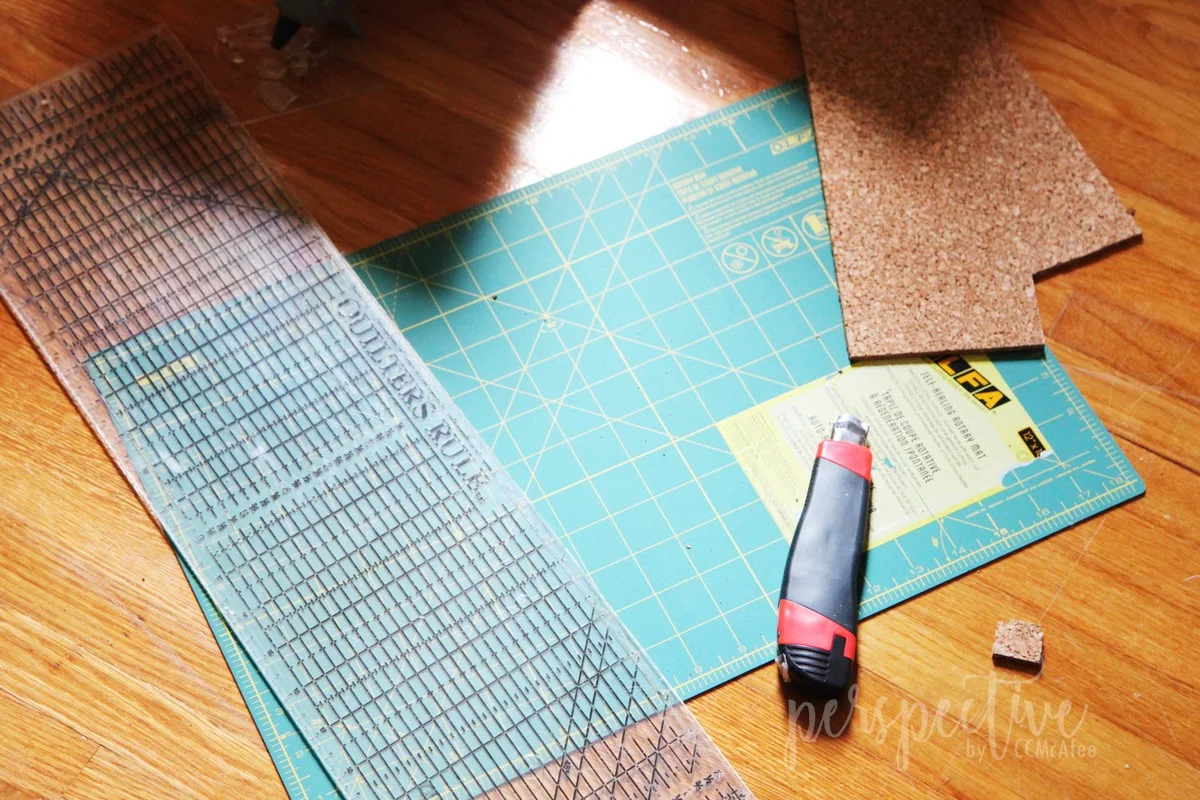
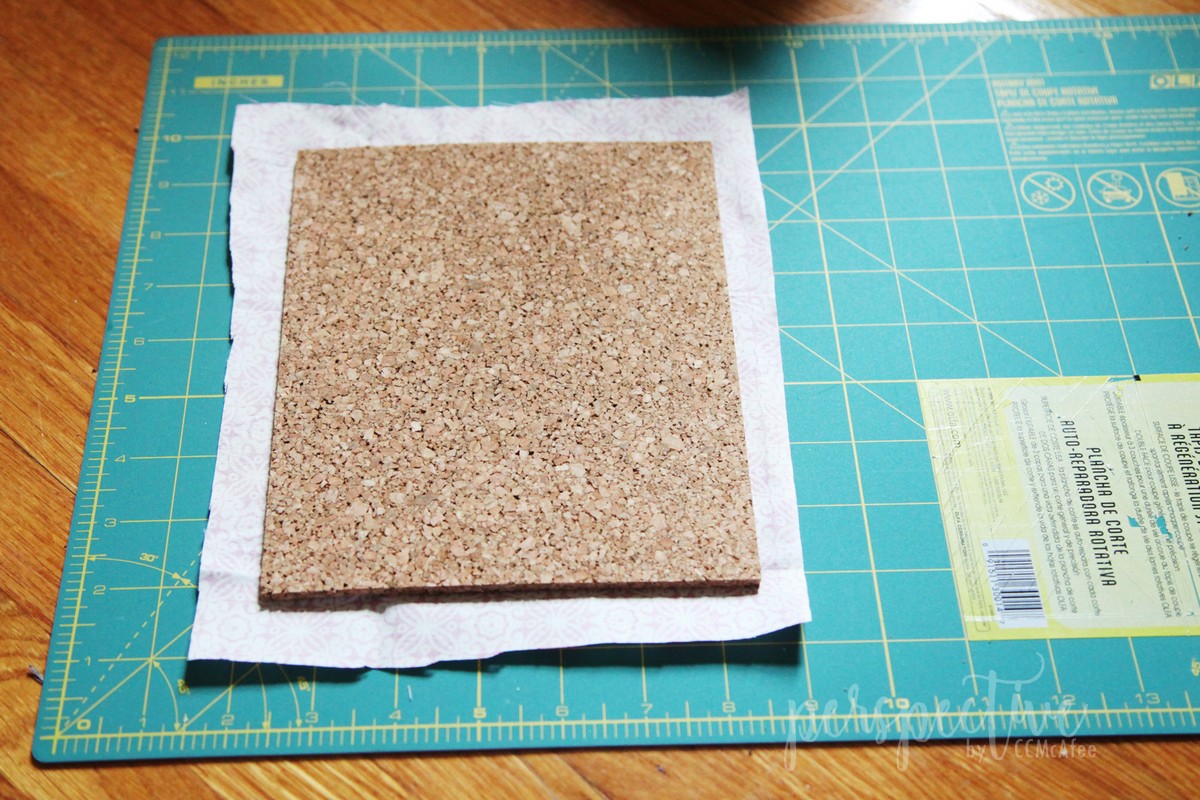
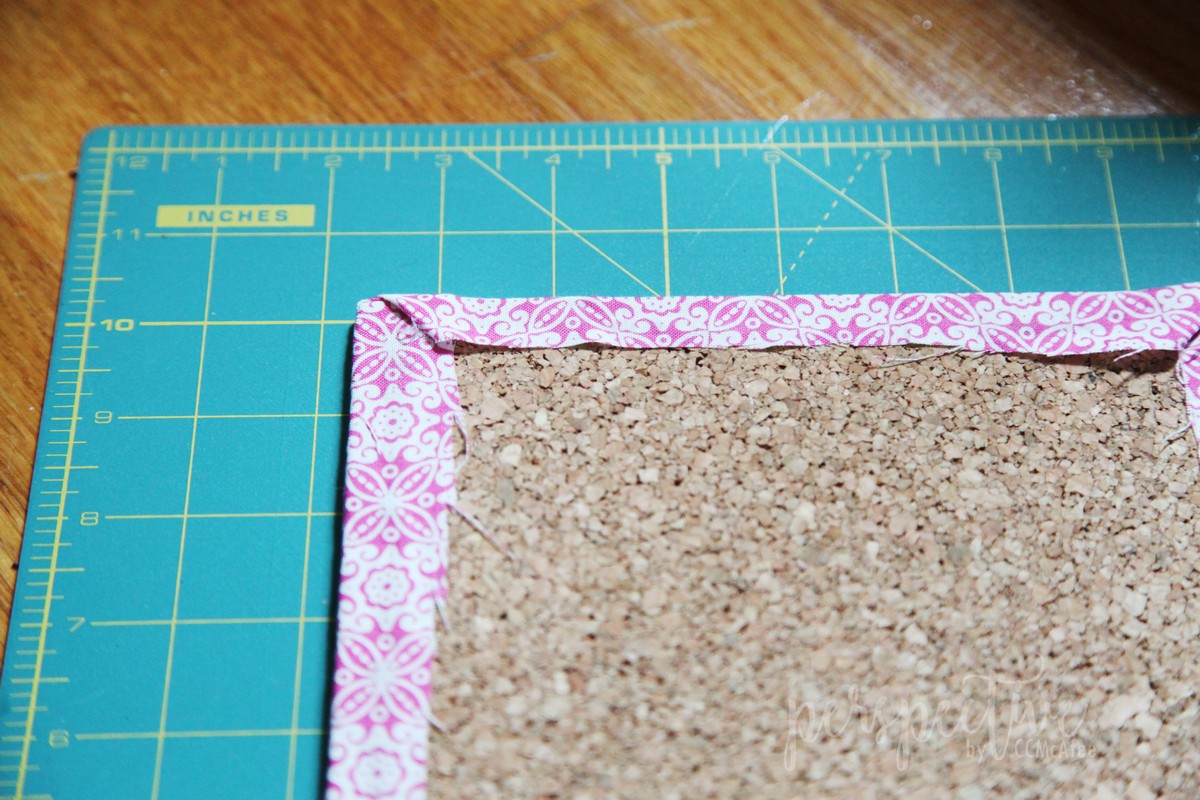
I'm mostly an eye-baller! We measured our cork to fit the bottom opening piece by piece.
I cut it on my olfa mat with a blade and straight edge.
Our dry fit.
We ended up connecting two pieces of cork with some glue, so she'd just have 3 pieces along the bottom.

To cover the cork I lay it over the fabric we'd chosen (face down) and cut the fabric with about a half inch extra on all the sides.
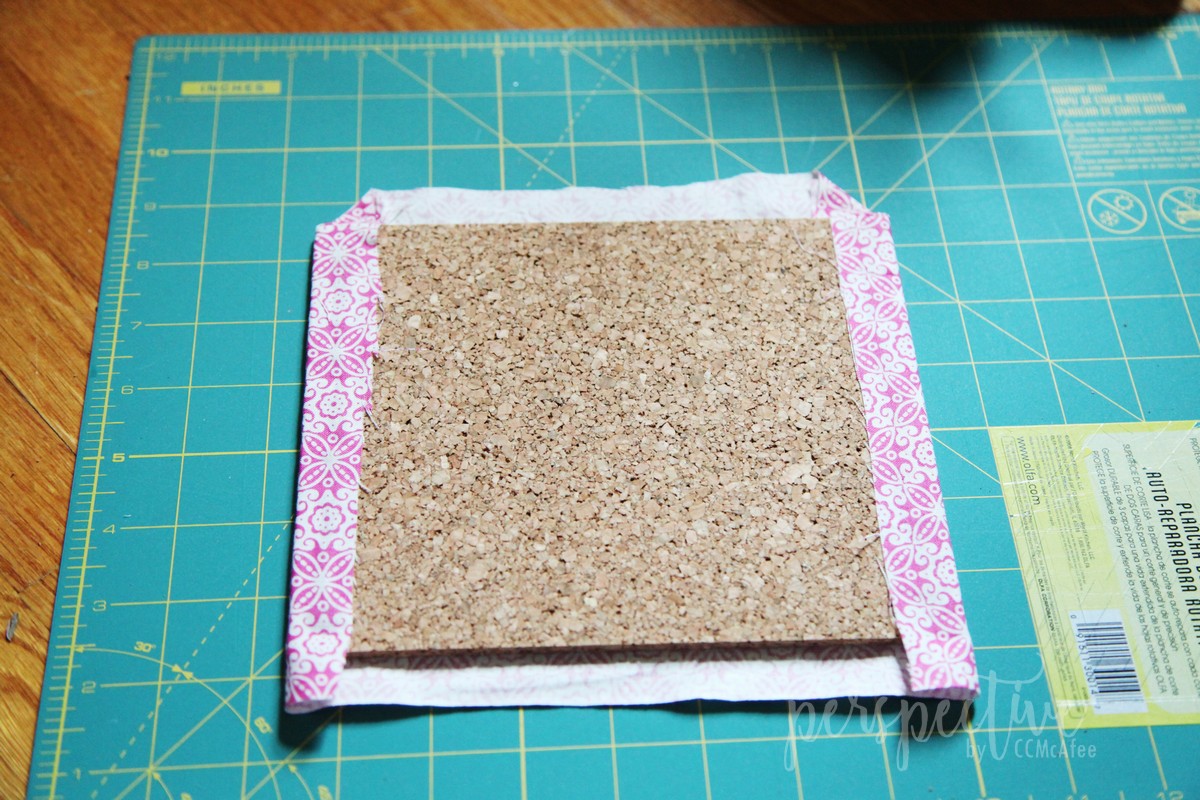
I just used hot glue to attach the fabric. I'd work opposite sides, to get a nice taught fit. That will flatten out creases and such.
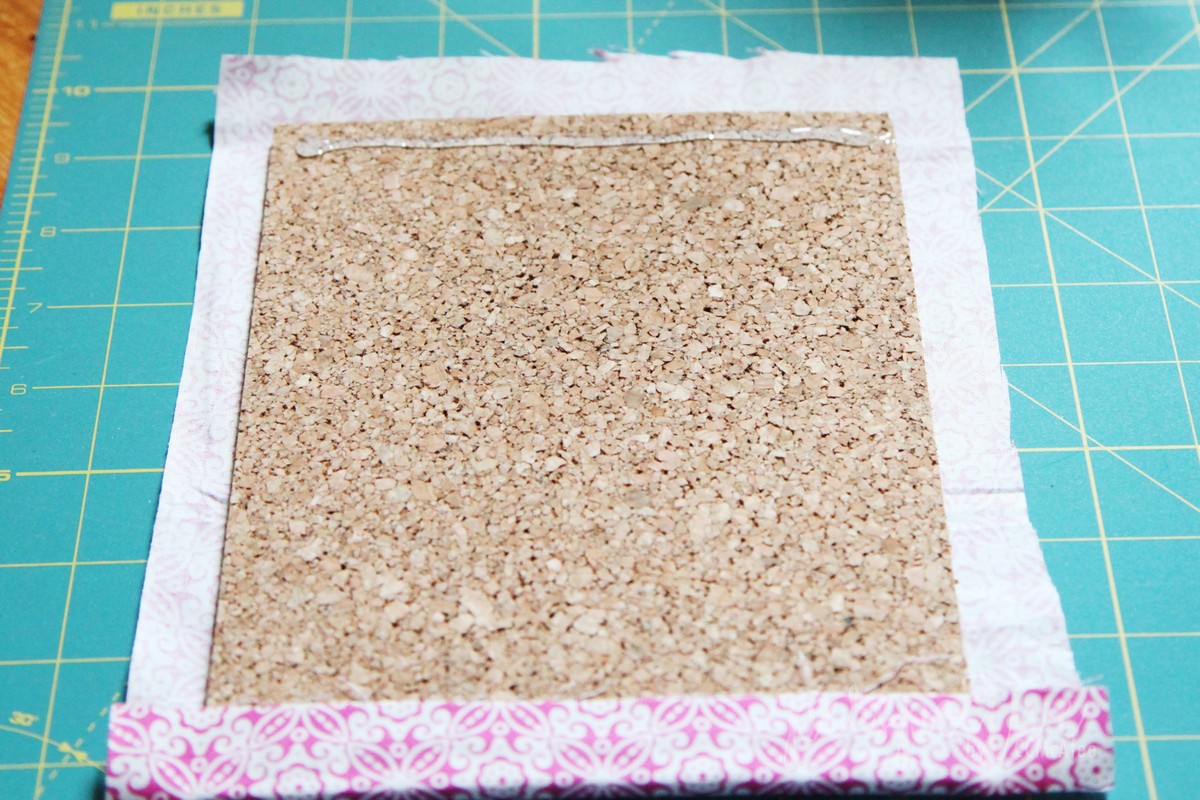
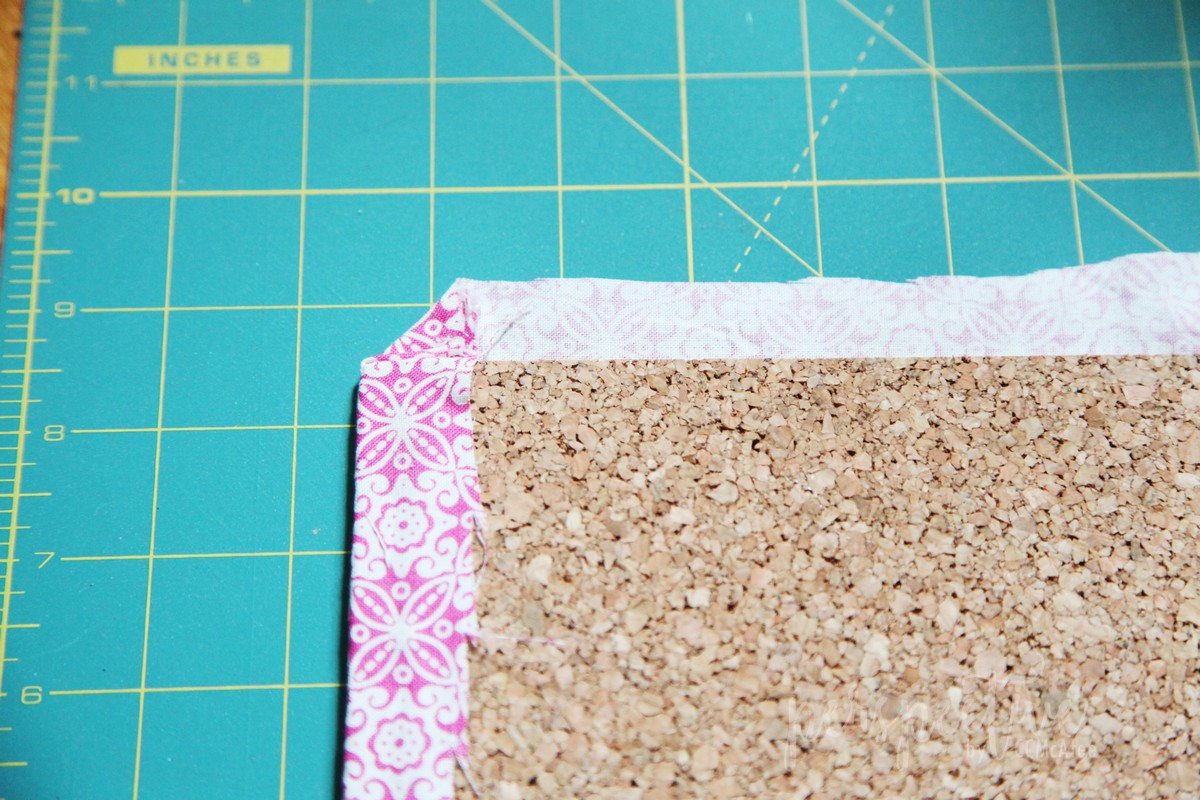
I did corners next so they'd pull tight as I did the last edges.
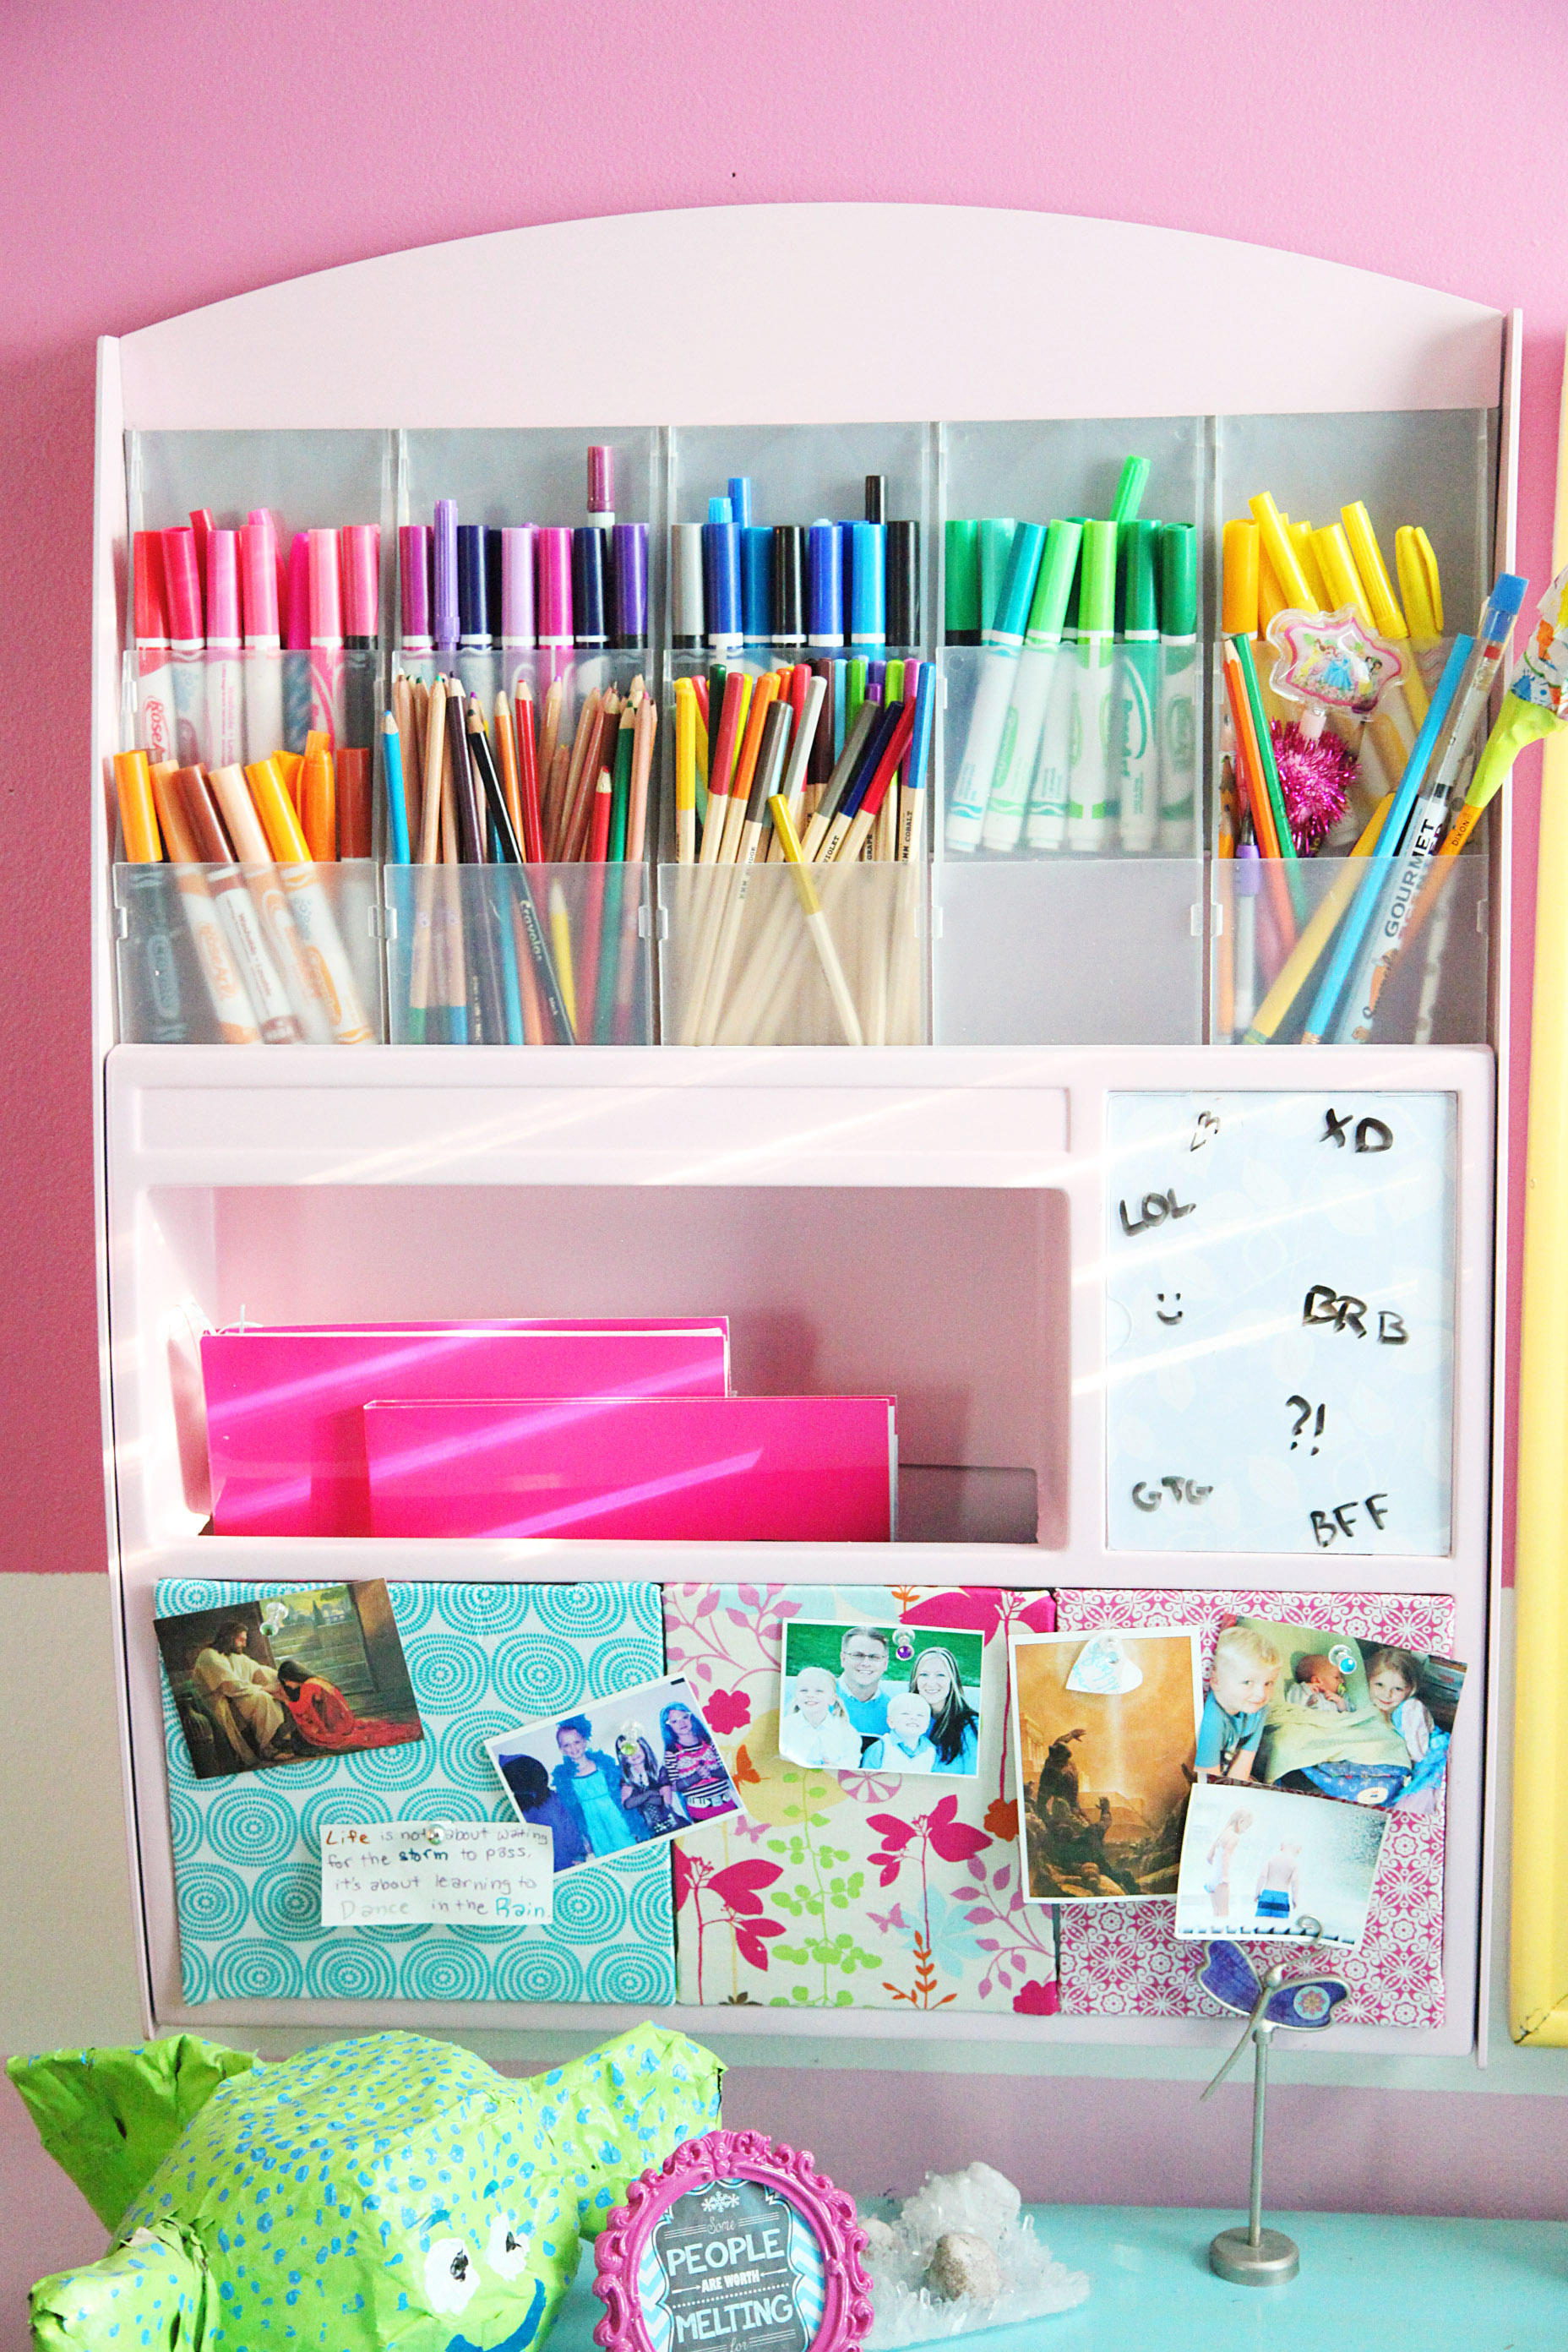
Here they are in the caddy! So cute right? Love it!
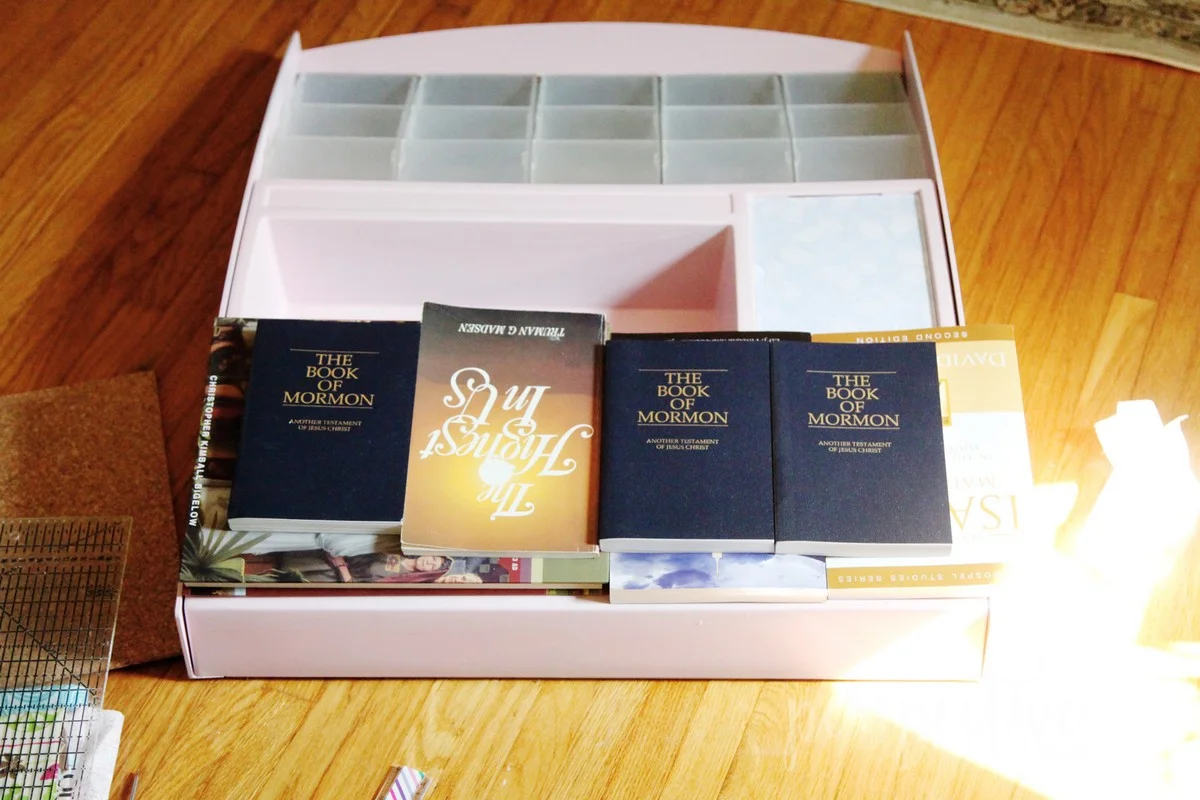
We used liquid nails to attach the cork. Love liquid nails!

We put some books over the top to give some weight while it dried.
Do you love how I use my extra books of scripture? As you can see I have plenty! Anyone want a Book of Mormon? It's an additional book of scripture, to lift, strengthen faith and testify of Jesus Christ... and great for projects like this!
LMK if you want one and I'll mail it to you! :)
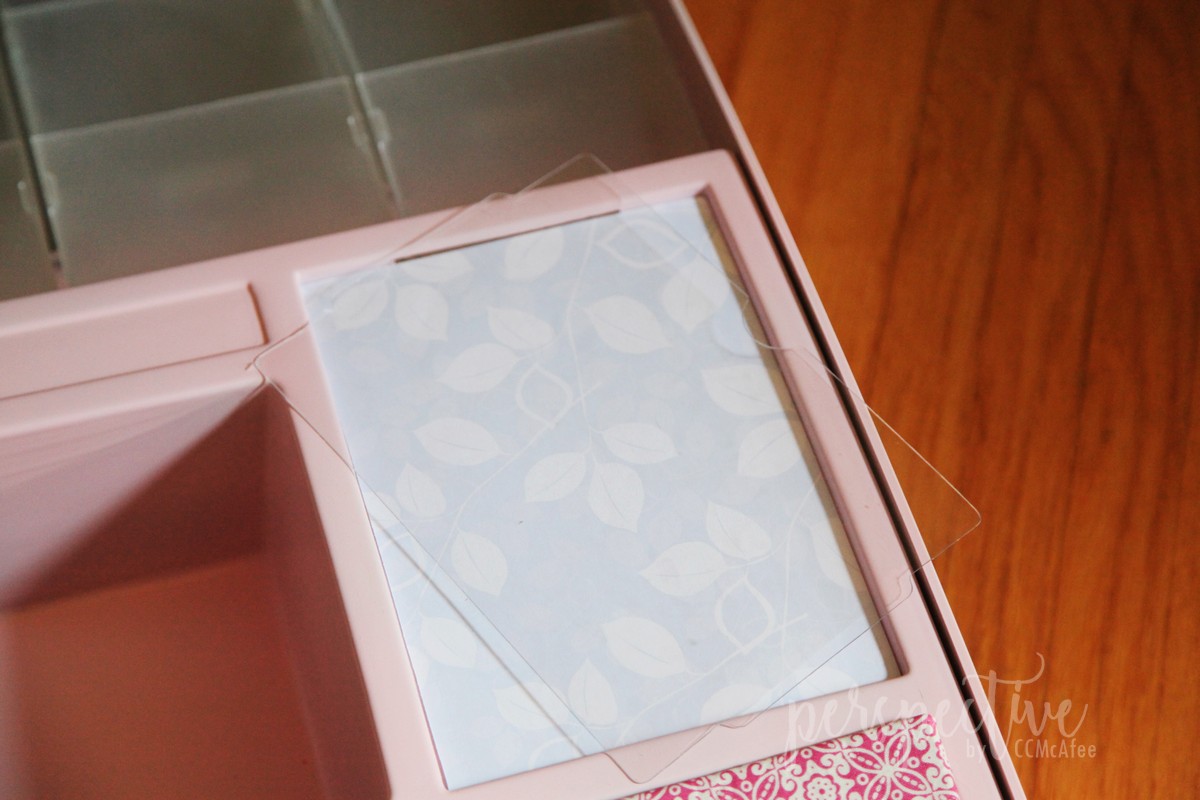
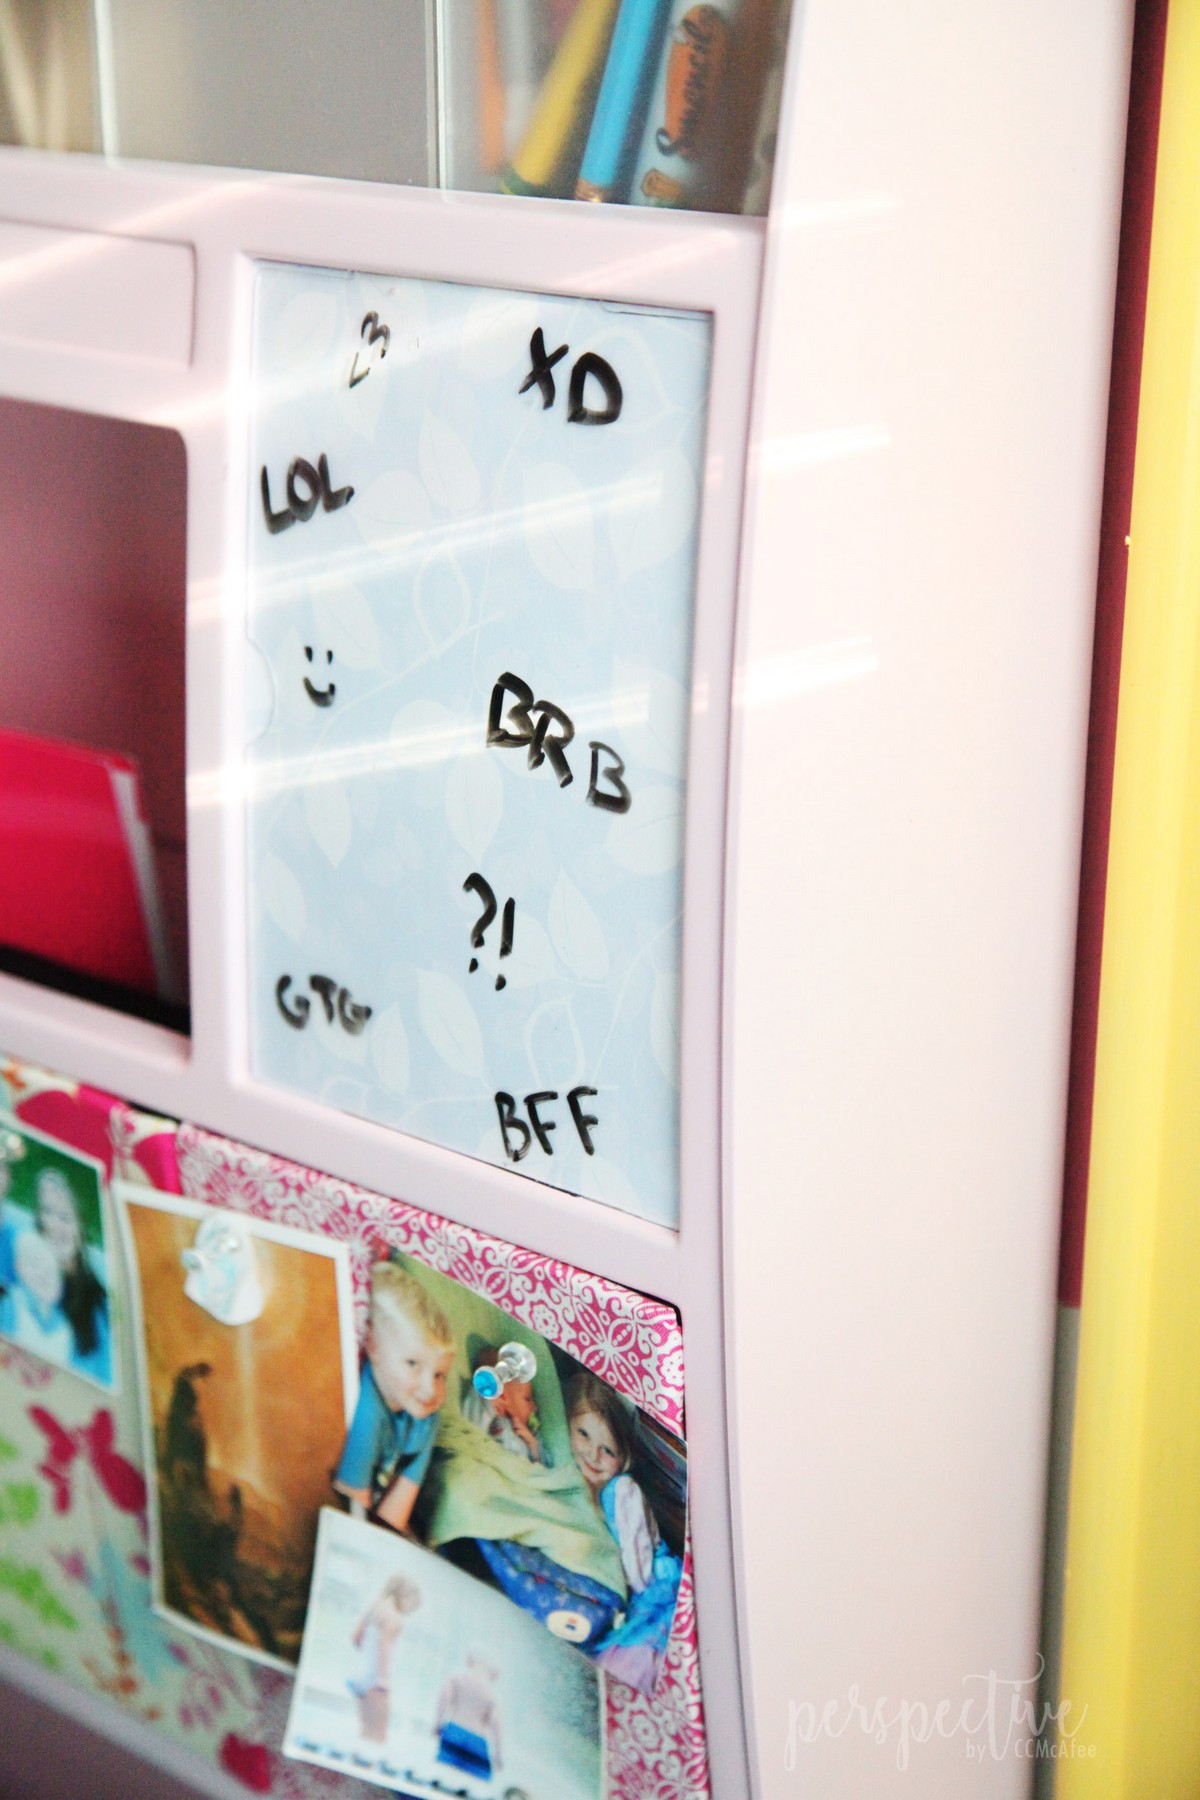
Our next step was simply cutting out a piece of cute paper to place under this plastic, for dry erase.
After the cork dried we headed to Q's room to do a little rearranging and cleaning.
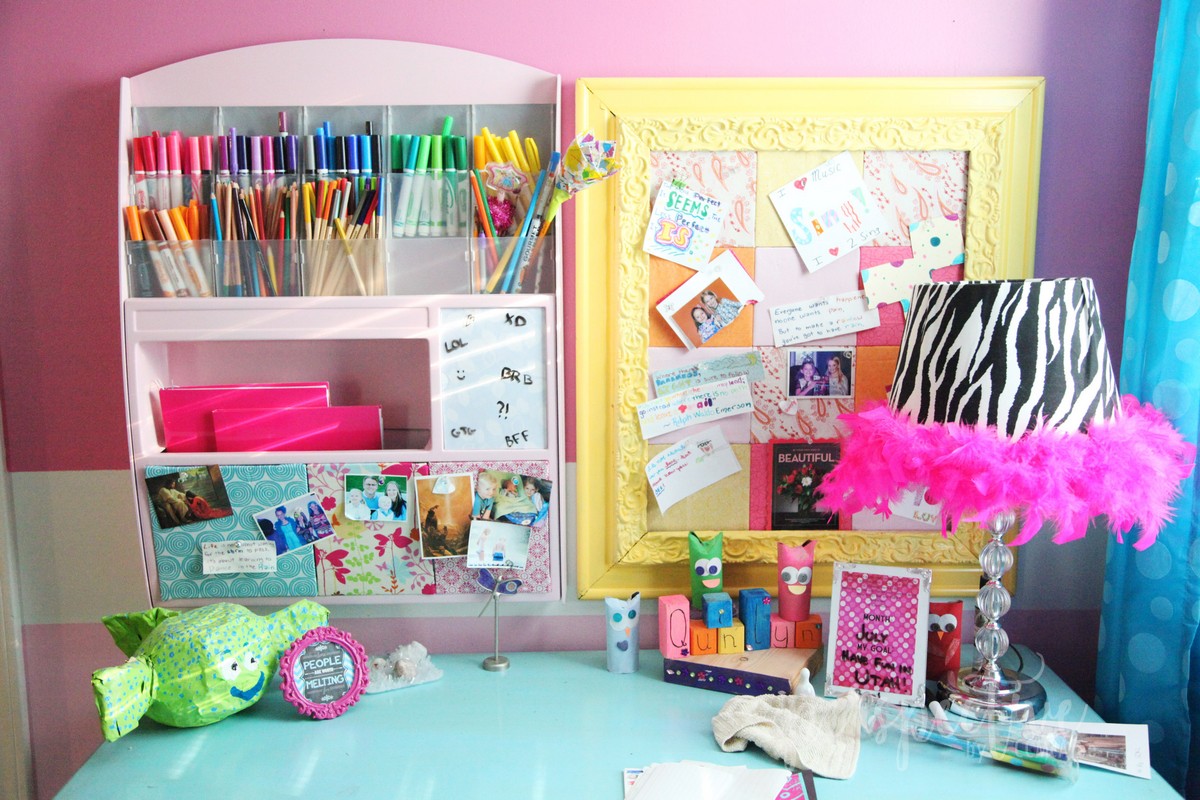
Then, we put it up!!!
I adore how it turned out! This is such a fun piece for her! Perfect!

Now I just need to decide what to do with that other one... hmmm!