
Easy Halloween Tree with Skull Ornaments
I am excited to share our Halloween decor with you this week! Check back Thursday for that.
I have a white tree branch that I like to bring out this time of year, actually, it usually comes out after Halloween. It will stay right in this spot clear until February! It is just a tree branch that I got from outside, and spray painted white. It has become our little 'tree' to decorate, through the holidays, right here in our front entry.
Here it is in November. Here it is in December. And January. Bummer, I didn't photograph it in February.

This year I brought the branch out earlier and made some skull ornaments so we could have a Halloween tree. They were oh so easy to make and I like having this 'tree' up for Halloween too! It may need some spiders and bats too. We'll see what is left at the end of the season! This is great for now.

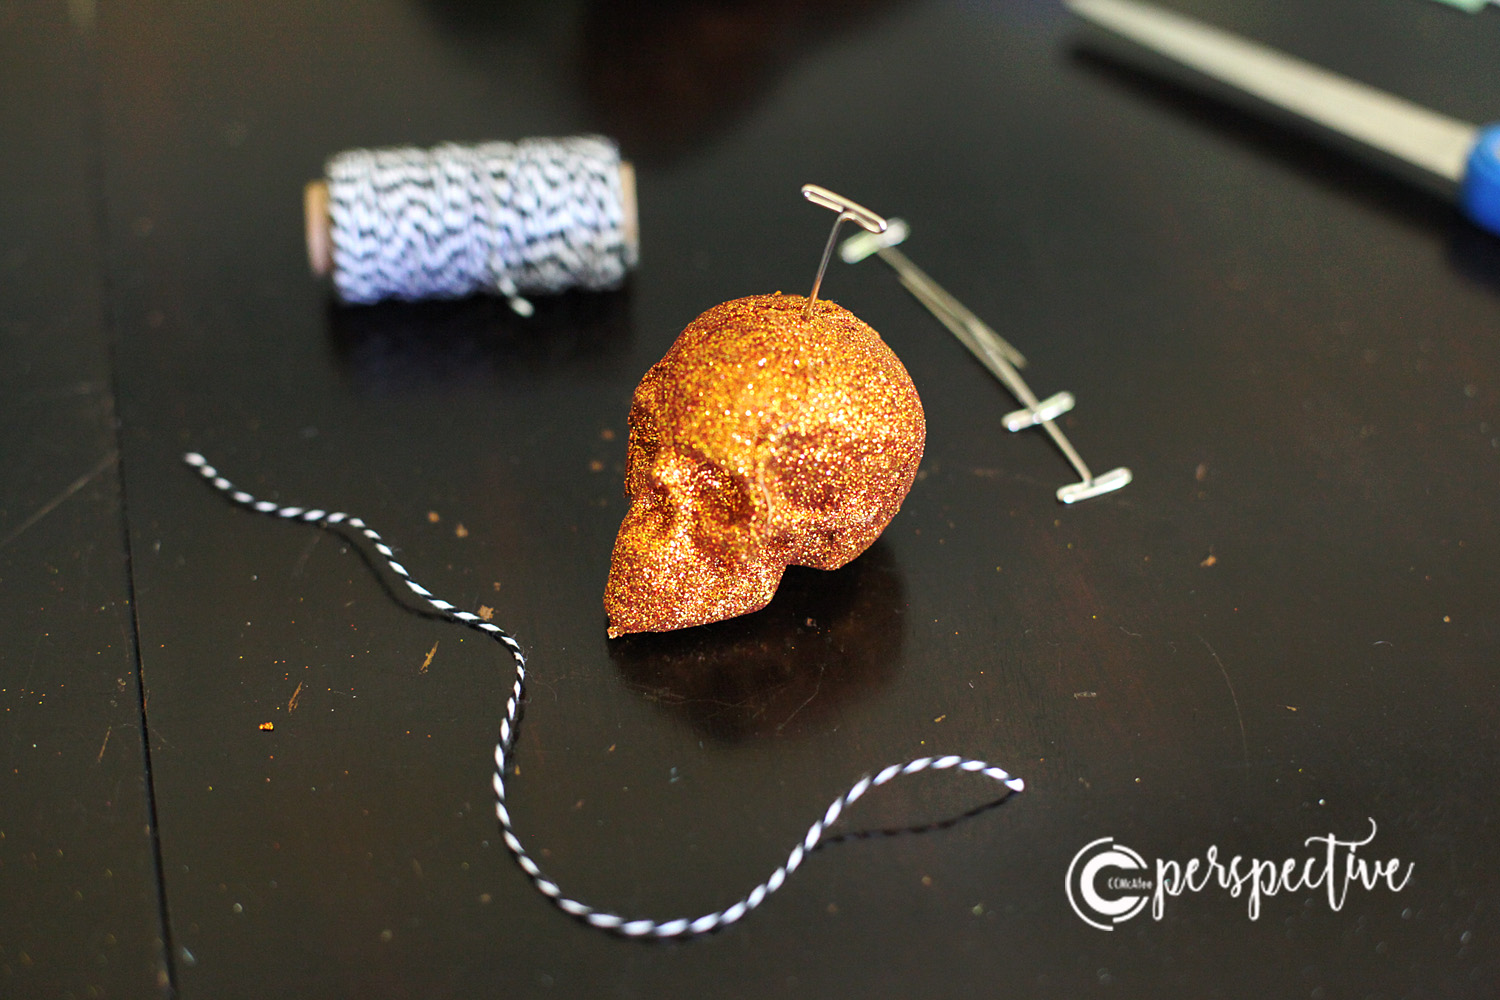
I used glitter skulls (that I got from Michael's on clearance last year), bakers twine and T pins.

To hang these, you need something to attach string to. By stabbing the skull with a T pin, you create that thing! Stabbing seems appropriate this time of year right?

Next you cut your string, to a length that will allow it to hang at the height you want.
Tie your string around the T pin, then push the T pin all the way in.

Last, tie the two ends together in a square knot. There it is! Easy right? I have done this same thing on larger foam skulls with U pins, to hang them on my banister.

Now just hang those skulls on your tree. Halloween tree! Super cute right?

What do you think? Are you up for a Halloween tree branch in your house? You should try it!
