
The Candy Bar - Part 1
Our basement is finished. The previous owner finished it. When we were looking for our home I was looking for some specific things for our basement and actually sort of hoped to finish it myself.
We have a great basement though, and really, I'm glad that I don't need to create a whole basement, I can just make adjustments to what is here.
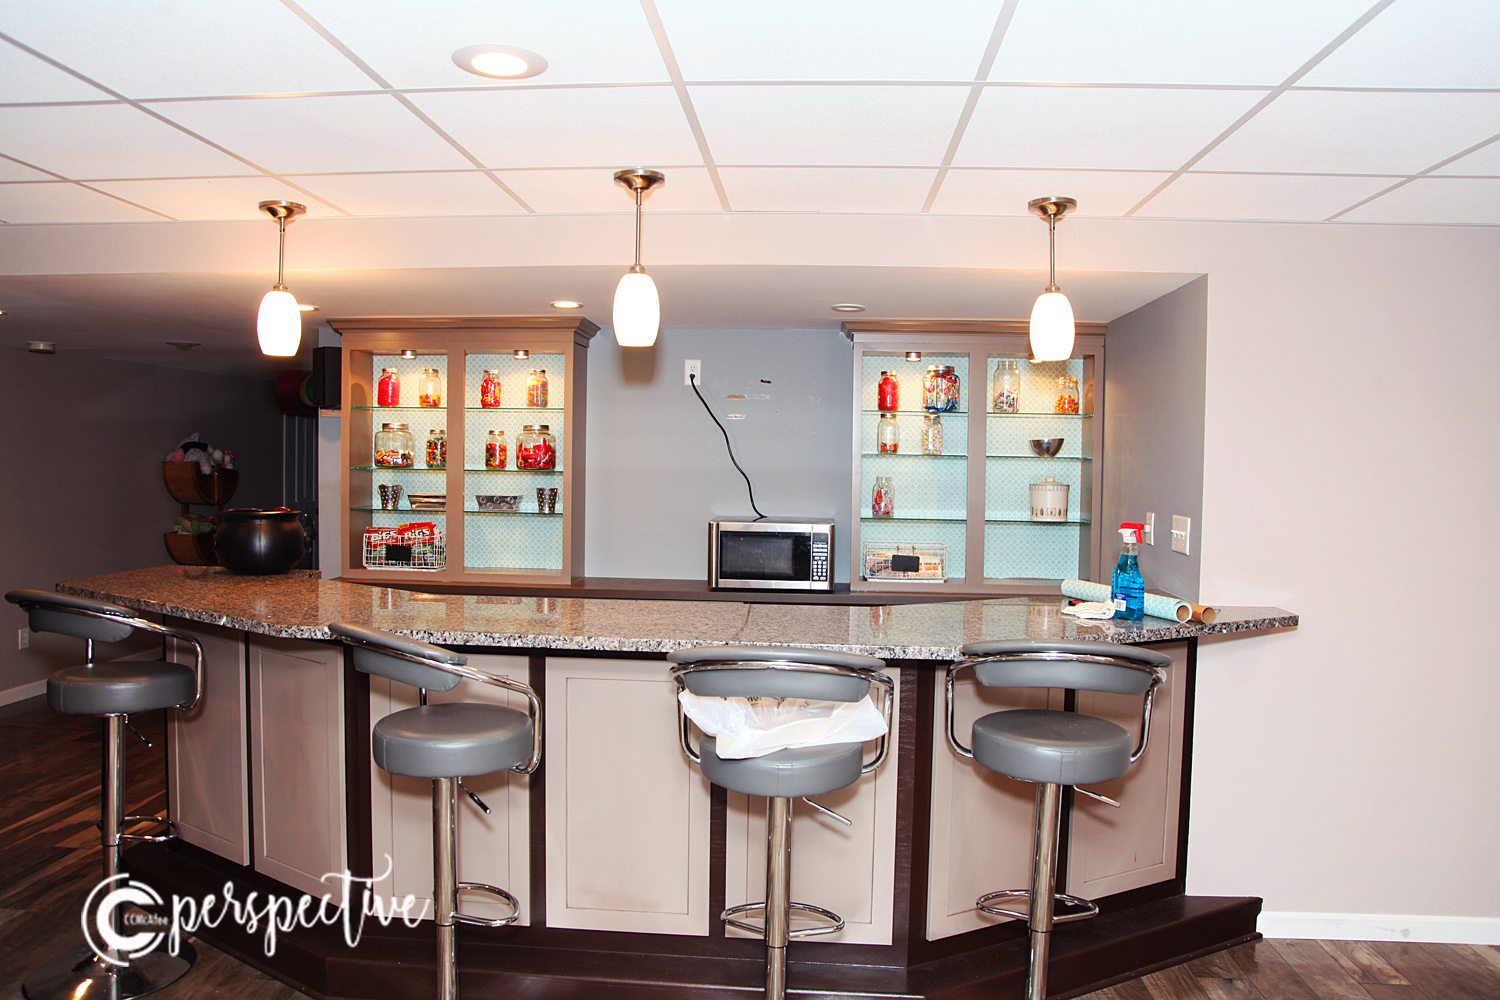
Our basement has this big bar at it's center. Previous owner had a TV in here and a chic sitting area across from it. Nice, but soooo not practical for us!
Now, the area across from the bar is a play zone, which still needs some direction, order and decor.
Also near the bar is our media zone. Our big TV is right there with our comfy couch. We come down here to watch TV together, to watch movies and get comfy. Hand in hand with movie time is treat time!
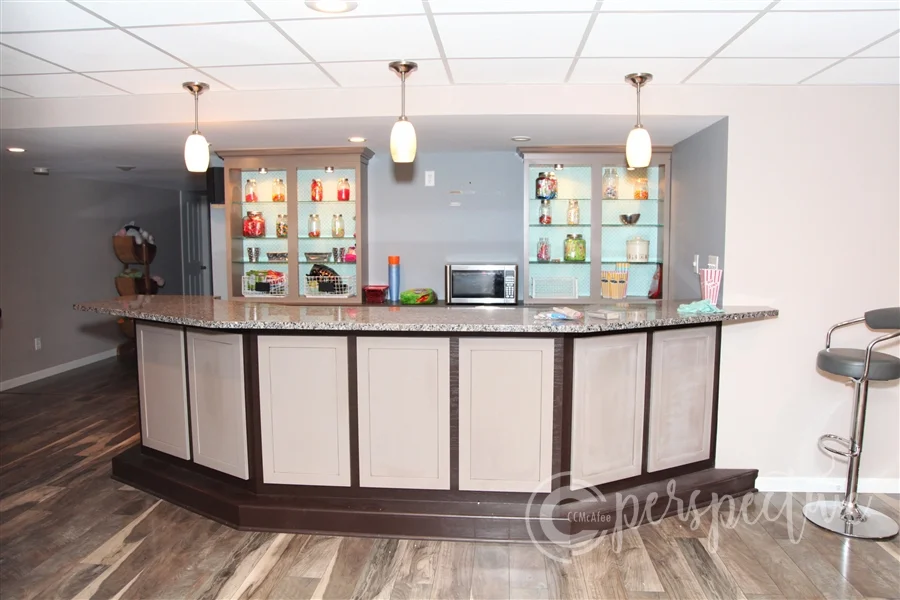
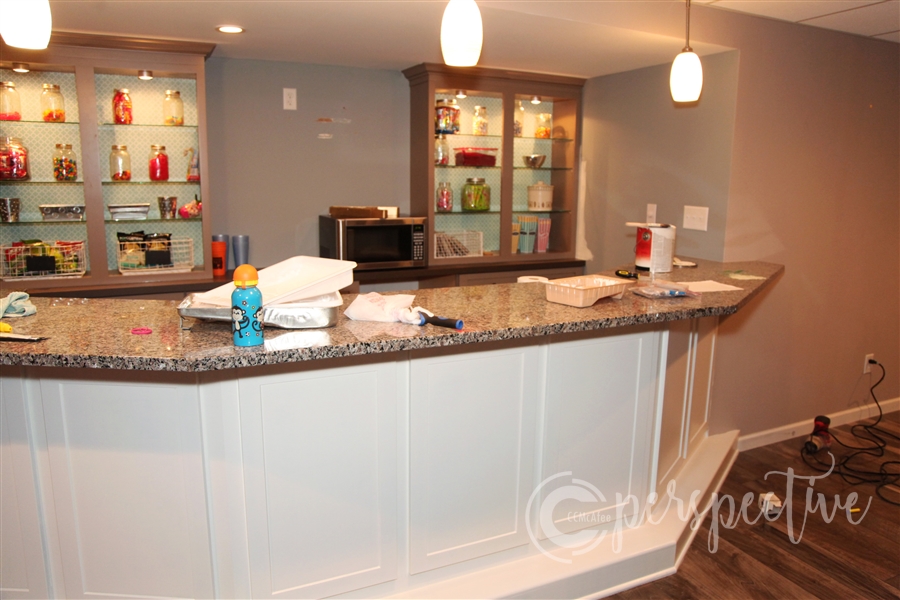
Soon after we moved in I turned this bar into our 'candy bar'! Here is how it has looked for the past year...
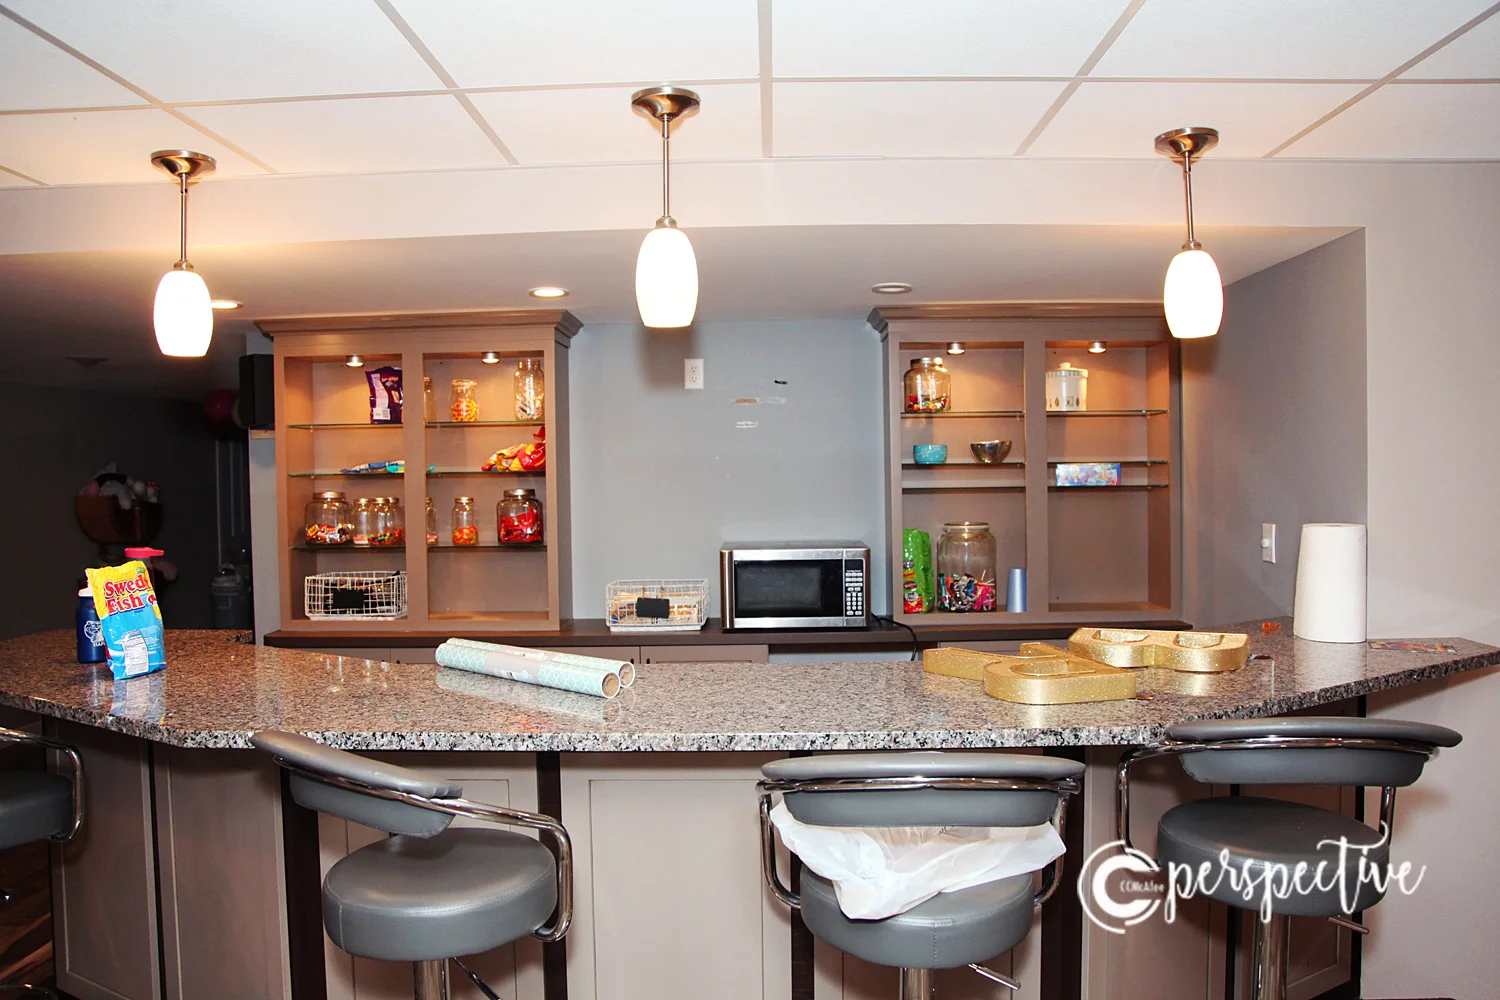

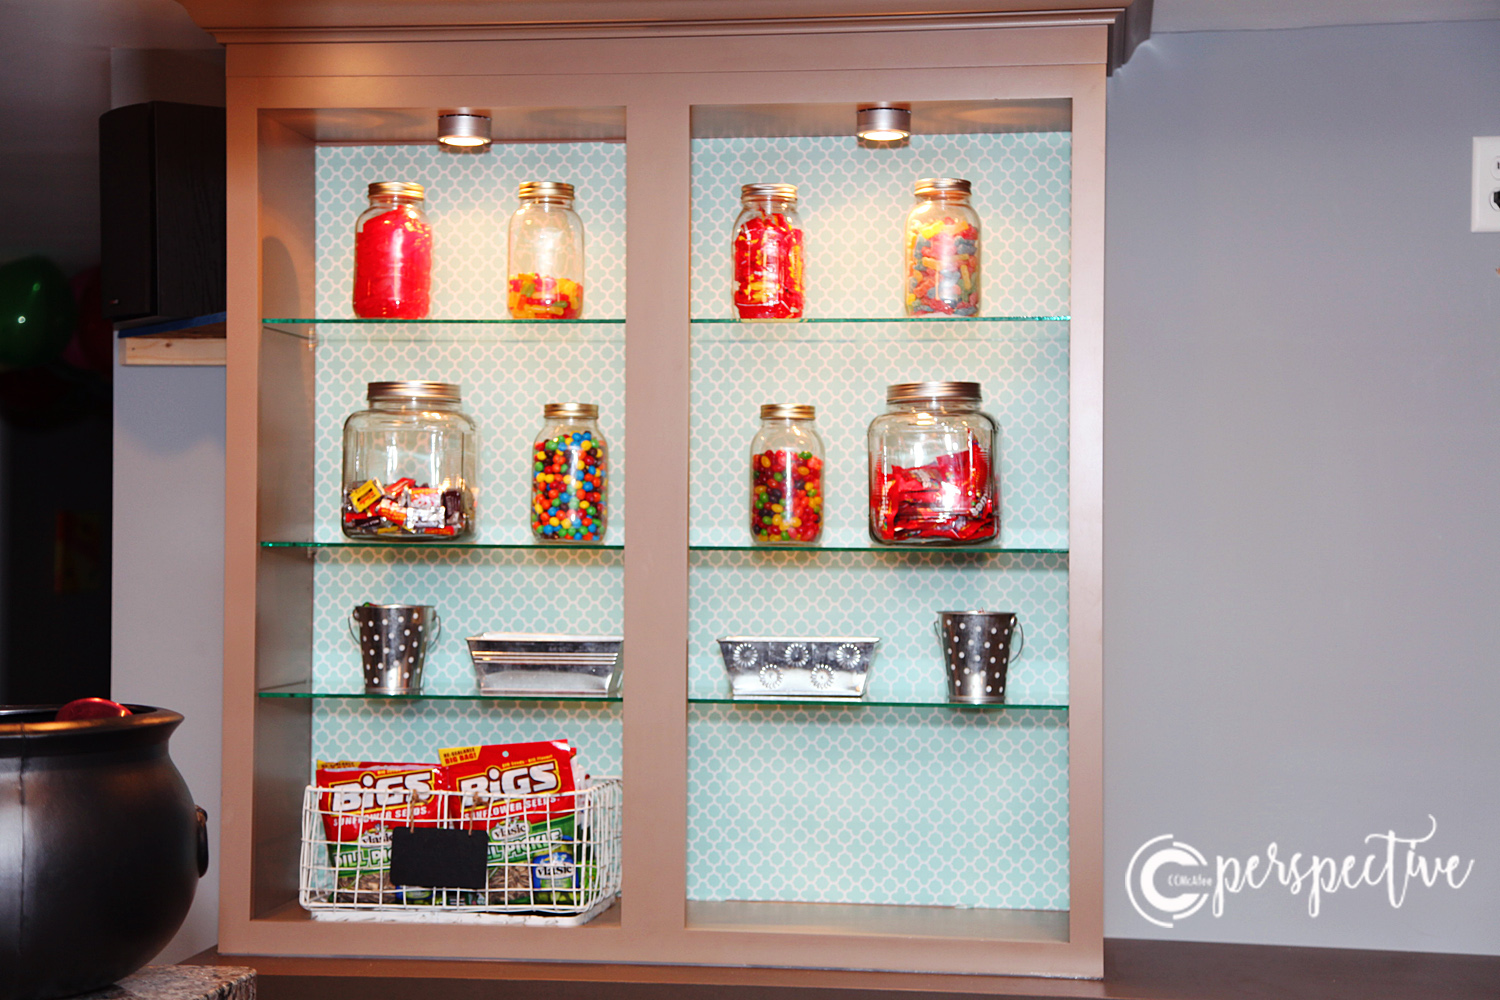
If you have been following me anywhere for at least a minute you know I loooove me some candy! I always have plenty of it on hand. This is the perfect place for it all to be stored and look fun and fabulous at the same time.
I put our candy in mason jars and displayed it along with popcorn and other snacks.
It has now been all decorated and looks more finished and substantial! This is about the only place downstairs now that is done. I'll show you the first couple of steps today.
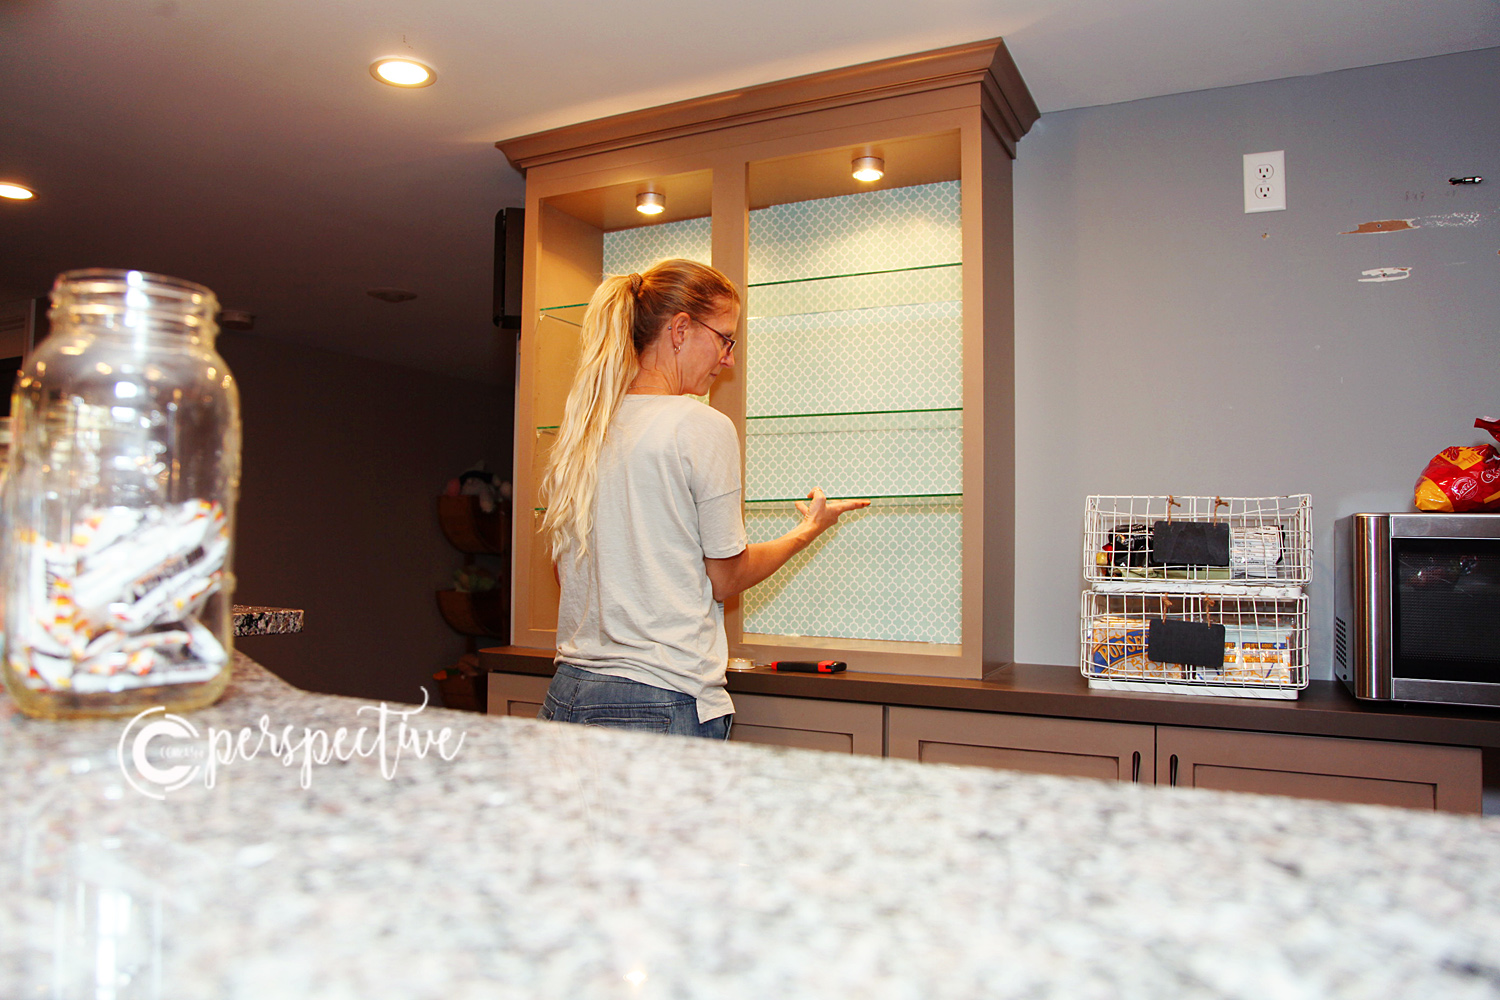
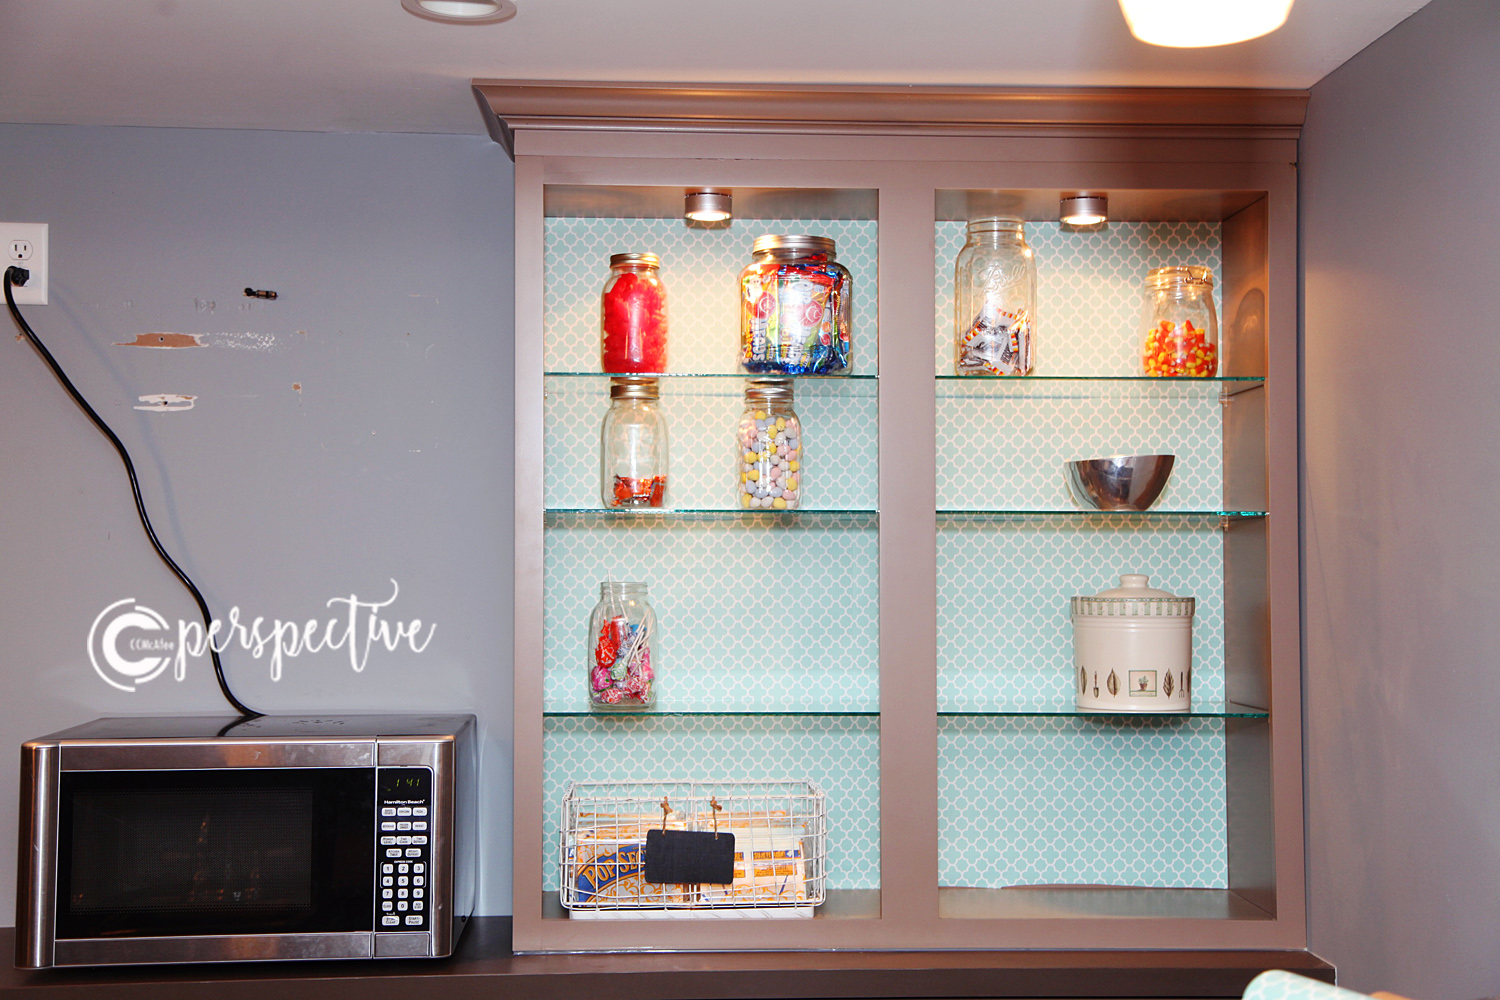
PAPER BACKED SHELVING
I started backwards I guess, with this DCWV decorative paper that I bought at JoAnn's. I decided to back the shelving with this and did that first.
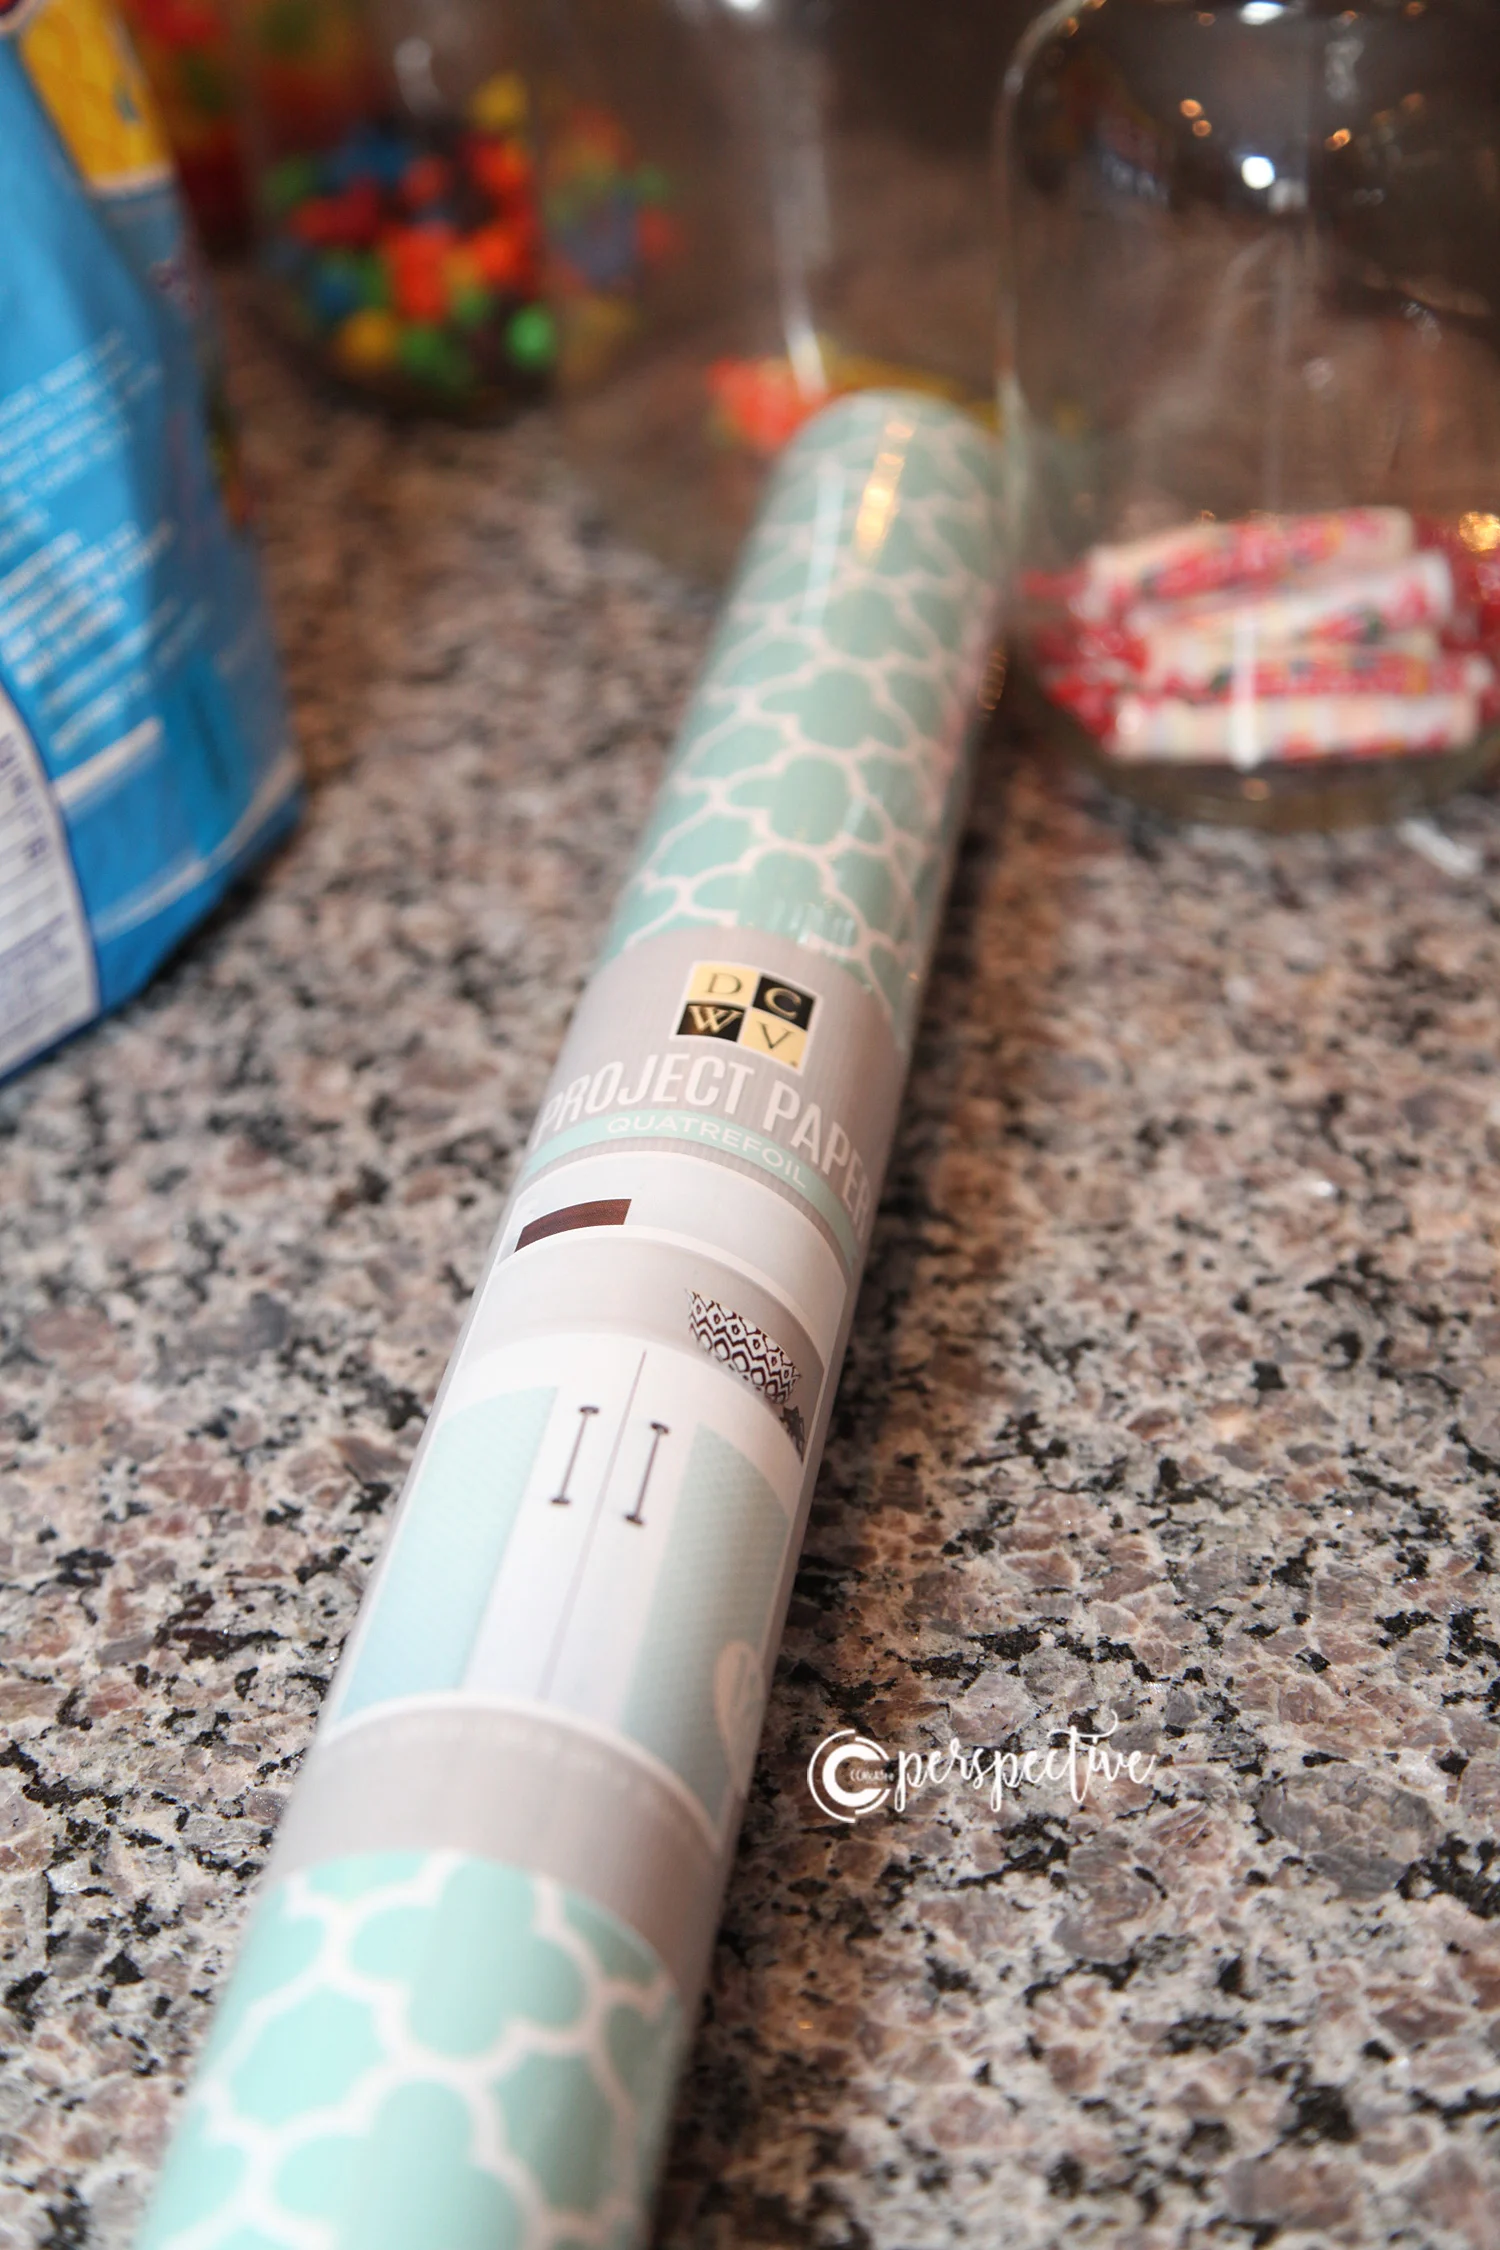
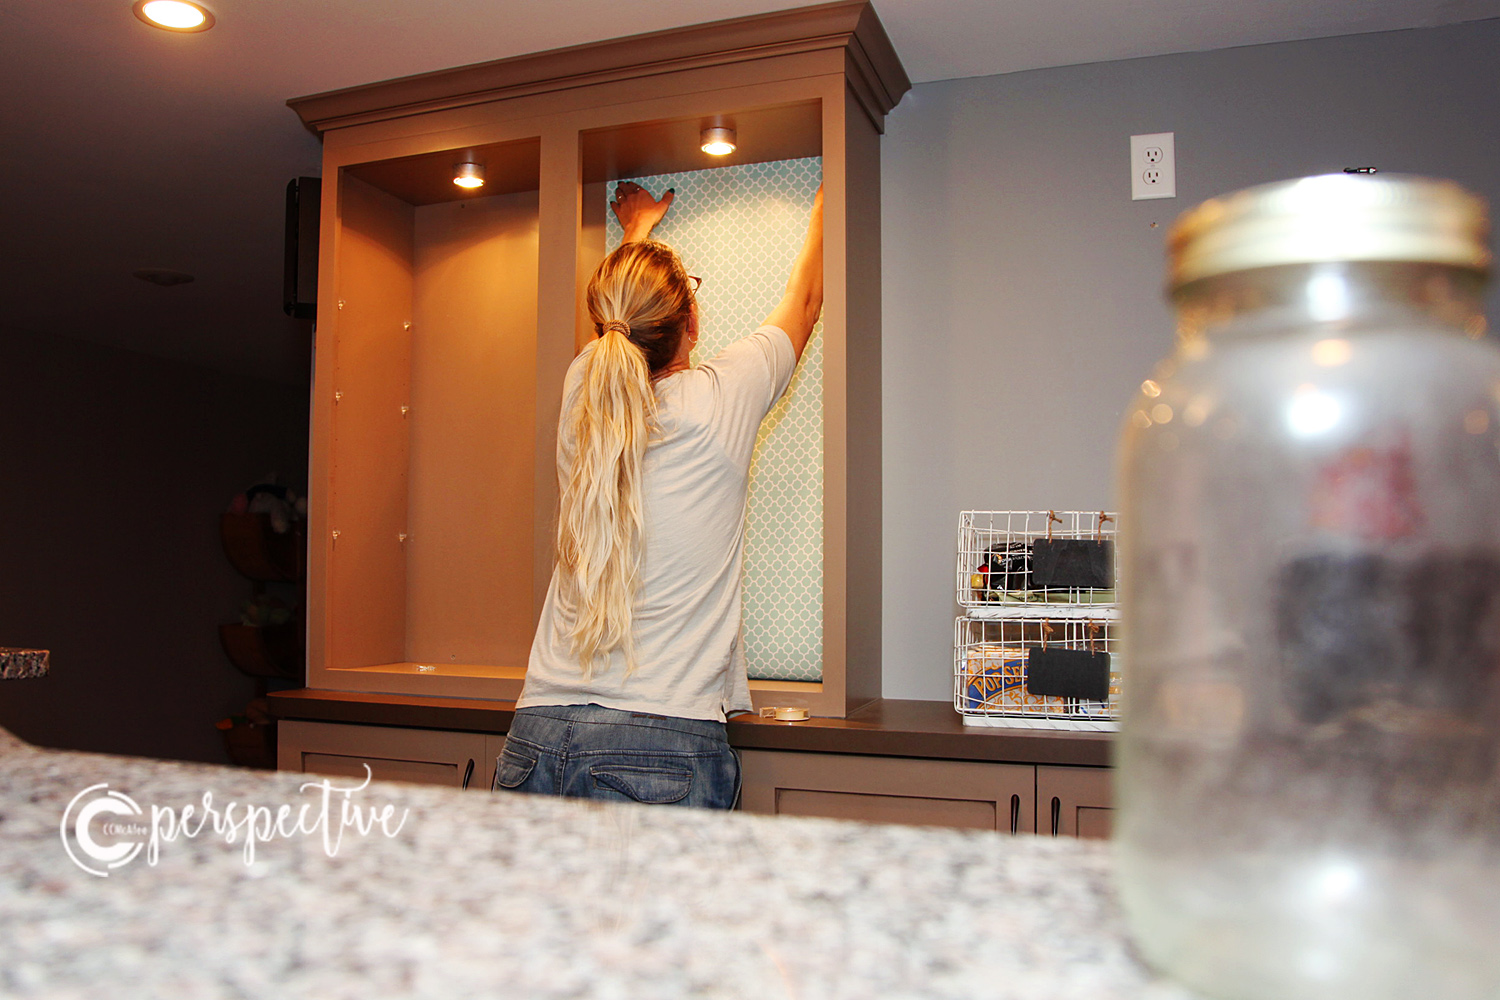
It was an easy process. I took all the glass shelves out first. I decided to use two sided tape for this project, in case I want to change out the paper later on. The shelves help to hold it in place. I put tape along the top of the paper and placed it at the top of the cabinet.
I measured the paper in the cabinet by pressing it to the back and smoothing it out to the bottom. I used a blade to cut in the bottom crease of the cabinet. Easy!
I placed some tape along the edges here and there, then smoothed my paper out.
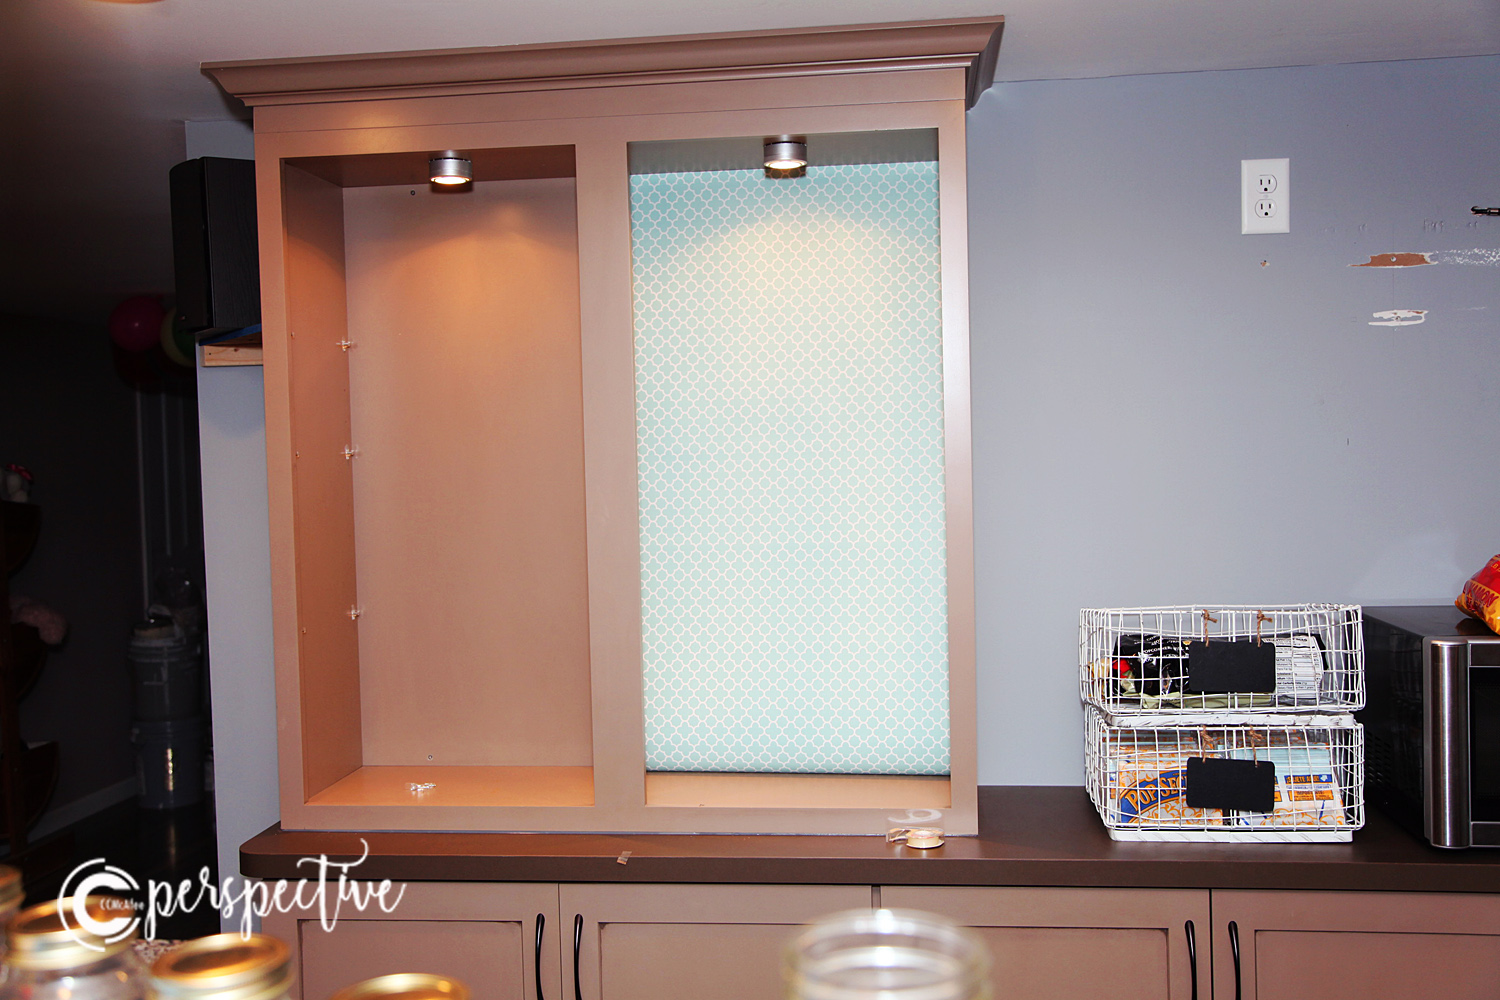

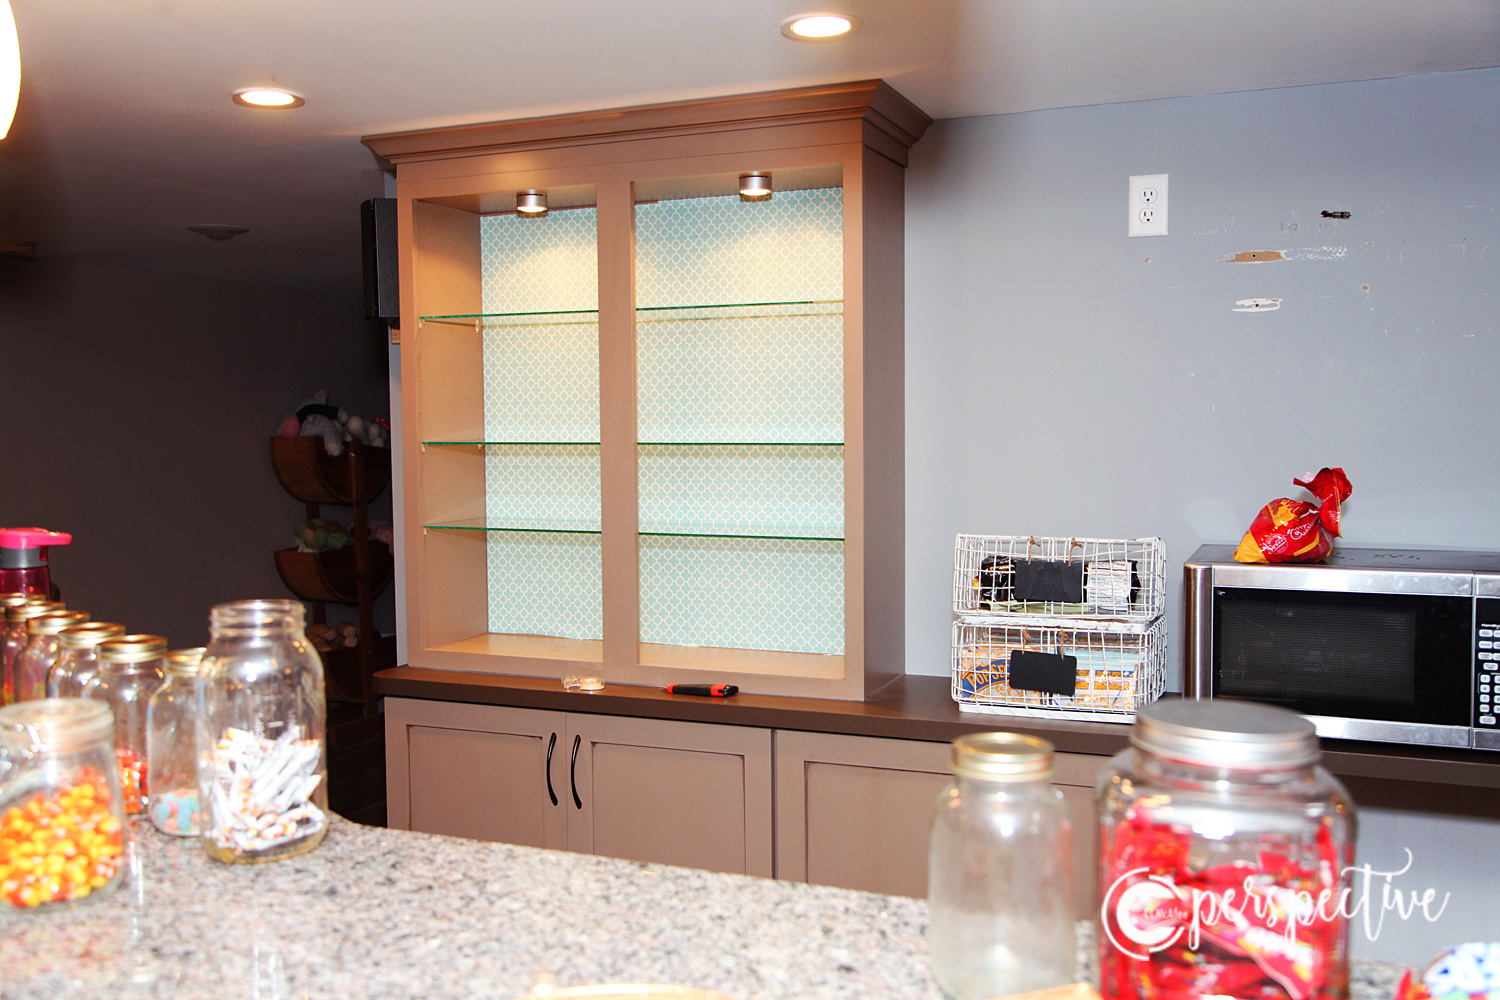
I did the same thing with the other side. I didn't cut the paper to pattern match at all. It lines up pretty well, good enough that I didn't feel the need to cut it. Also, there will be candy in front of the paper, so you can't tell that the pattern doesn't exactly match up. You may choose to match your pattern and cut from there. Go. Fight. Win!
That was my first step! I put my glass shelves back in and put my candy back on my shelves!
PAINTING THE BAR
The next project I took on was where I spent the most of my time. I don't know why in the world this design was done! It just isn't cute! The brown totally looks 70's to me!
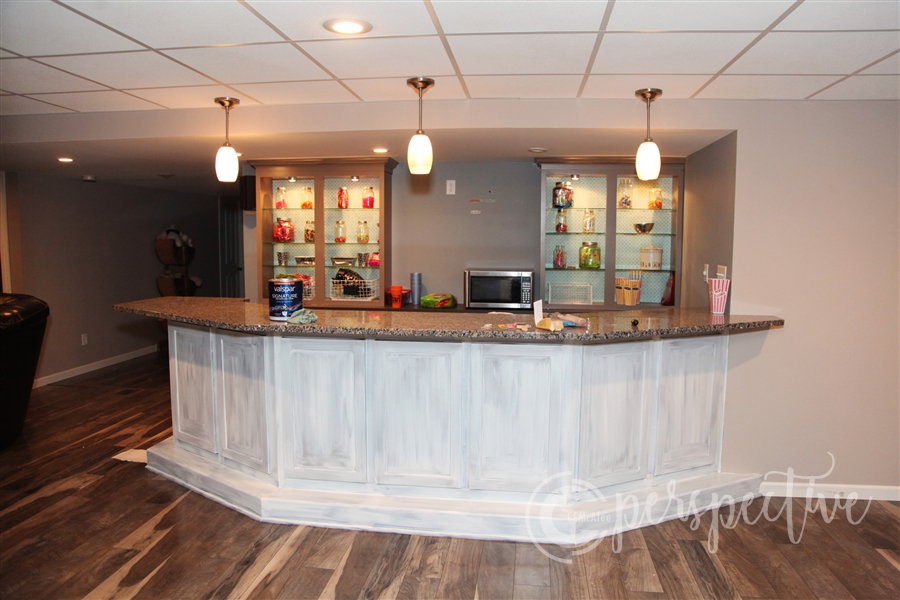
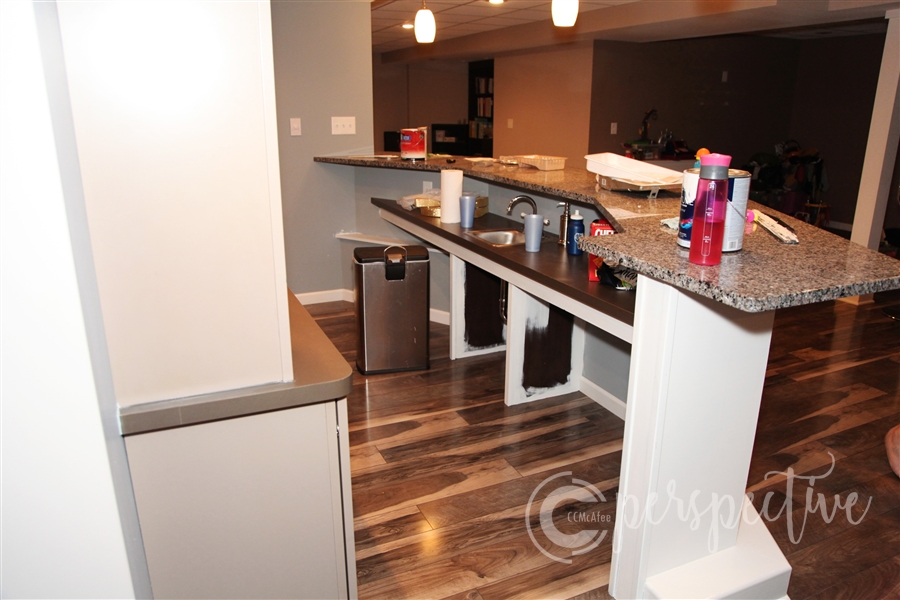
I sanded the bar, wiped it down, primed it, then painted it. All over the course of a few days. Wouldn't it be nice if the whole process was as easy as it looks all condensed in a blog post?!!! The front was pretty easy to do. The back is where I have a ton of edges and the like. That was my least favorite part. BUT, I got it done.

Here it is all pretty and painted! In the basement I like this white. It brightens up the space a bunch!
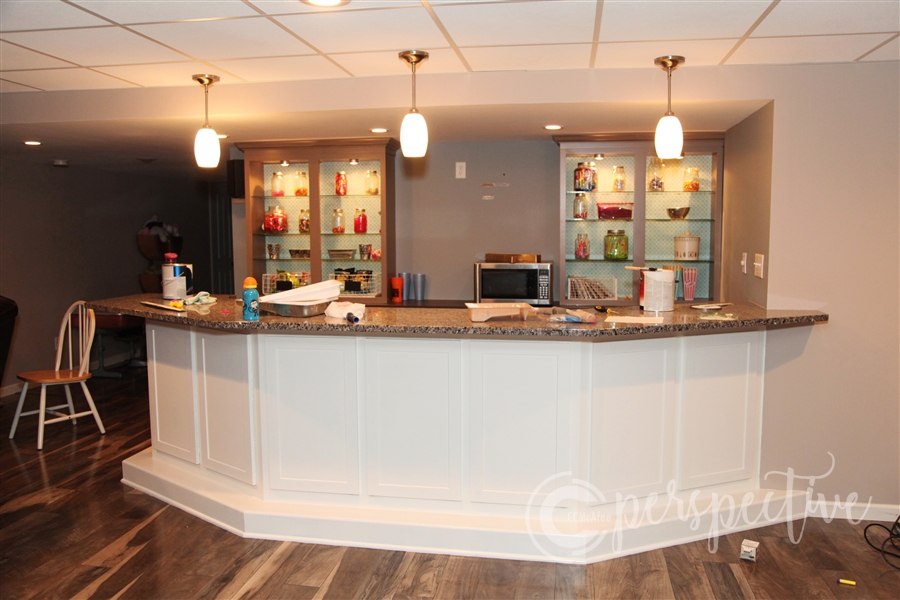
Now, of course, I had to deal with that blue wall. I don't mind the color, it's pretty, but it doesn't go with my cute paper backing! I wanted/needed to change it.
I'm going to share that, along with the finished candy bar in my next post! I do believe this post has gotten quite lengthy!
I'm excited to share how it turned out, so be sure to check back!